In 2005, I developed this system of bench stops as a simple alternative to installing a tail vise on a workbench. So I’ve been using this system of bench stops for 12 years now, it will be the 12th anniversary shortly! The system is set up on one of my original workbenches which happened to be my main workbench at the time. This particular shop-made workbench did not lend itself well to incorporating a tail vise so I told myself there had to be a better way to hold boards firmly while hand planing. Apologies for the vintage photography, but I wanted to keep the article period correct 🙂
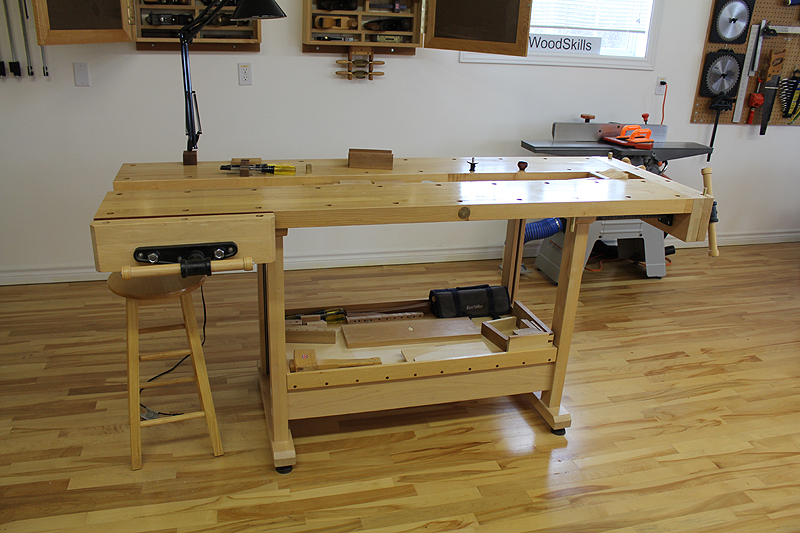
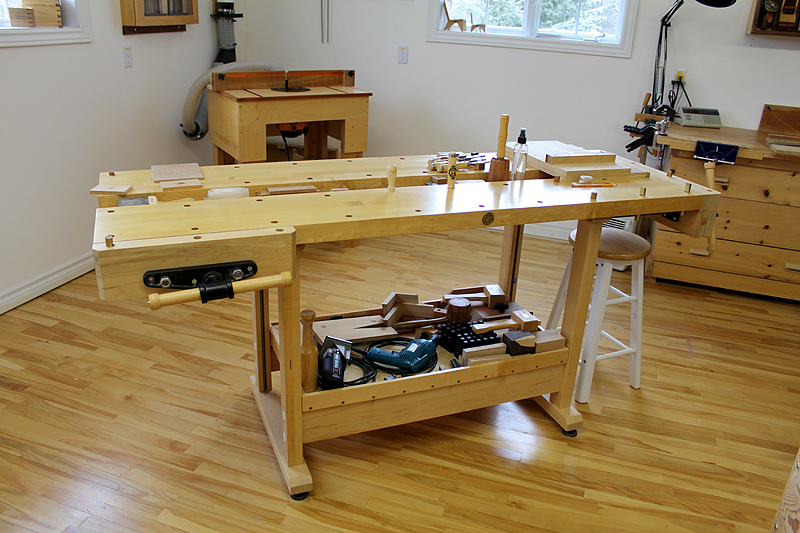
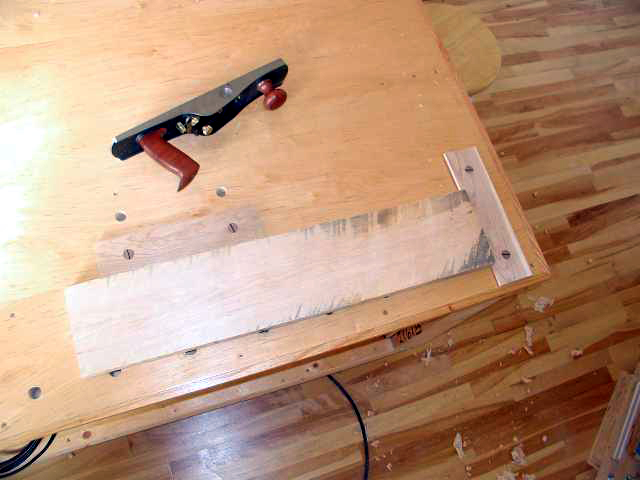
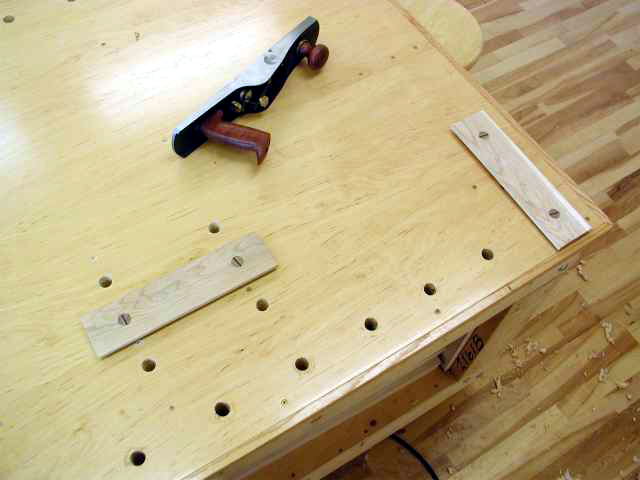
This alternative tail-vise setup is used when face planing boards. Most flat, regular benches can easily be modified to incorporate this hand planing setup using bench stops ( Roubo style). Photos below are of the bench stop setup on the workbench in my workshop. This bench has been modified for adapting the two bench stops. Adapting a bench can be expanded for longer bench stops, more holes for versatility, etc. I chose this particular hole spacing for the type of work I do. I am also left-handed and plane left to right, therefore I set this up on the back side of my bench which is unencumbered by a face vise ( the face vise at front of bench ).
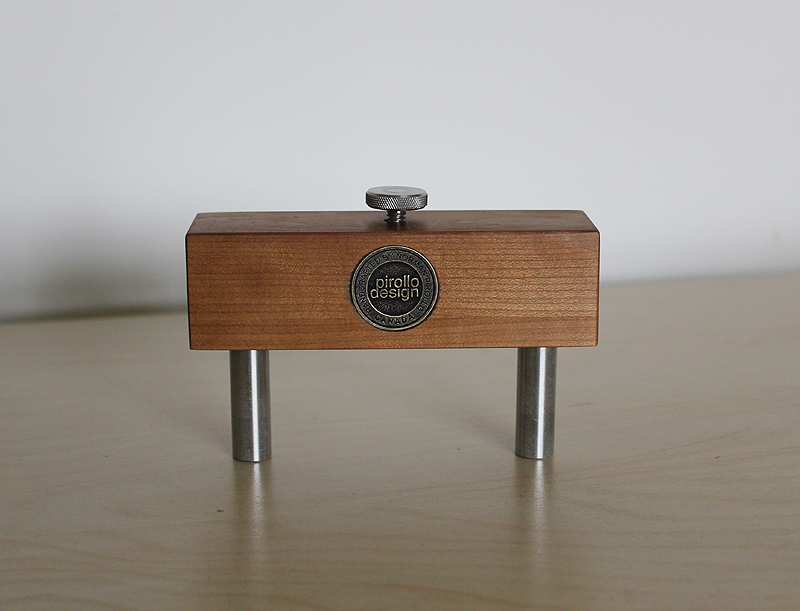
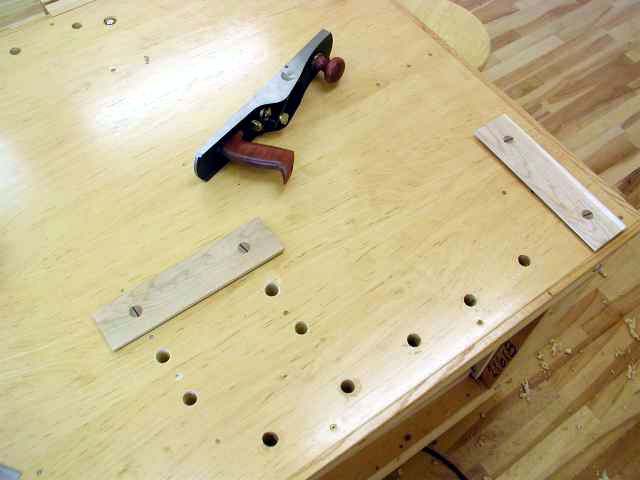
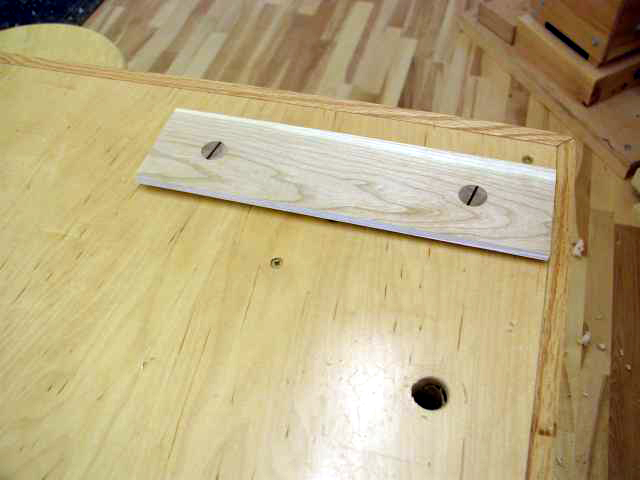
It is critical to get the 3/4 in. dowel holes square to the bench and in-line with each other, to ensure that the 12 in. bench stops are perpendicular to each other. The side bench stop does a great job of preventing the board from rotating sideways while hand planing with diagonal strokes. It has a large bearing surface to keep any size board from rotating. The side bench stop is also movable within a 12 in. span on 3 sets of holes, allowing for narrow boards and wider boards (2 in. to 14 in.).
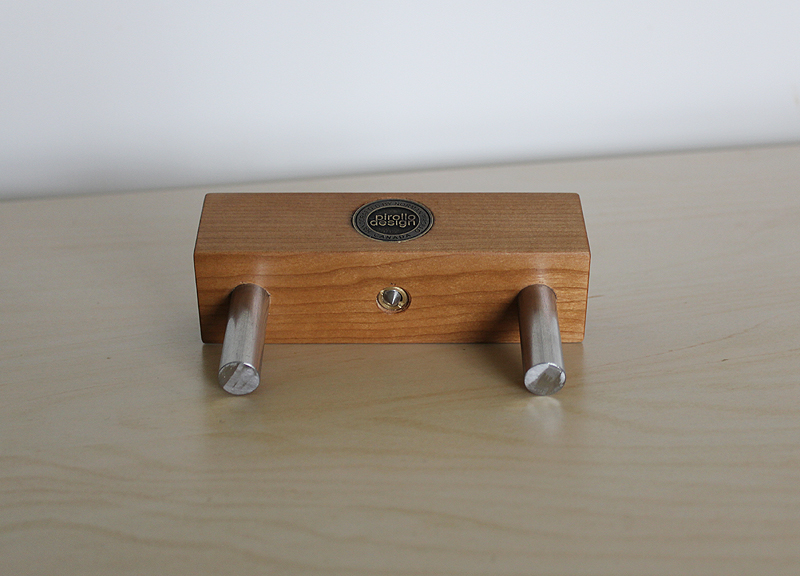
The side bench stop can be swung around towards the front bench stop with a parallel set of holes, this is to accommodate shorter boards. Pictures above and below provide a better explanation.
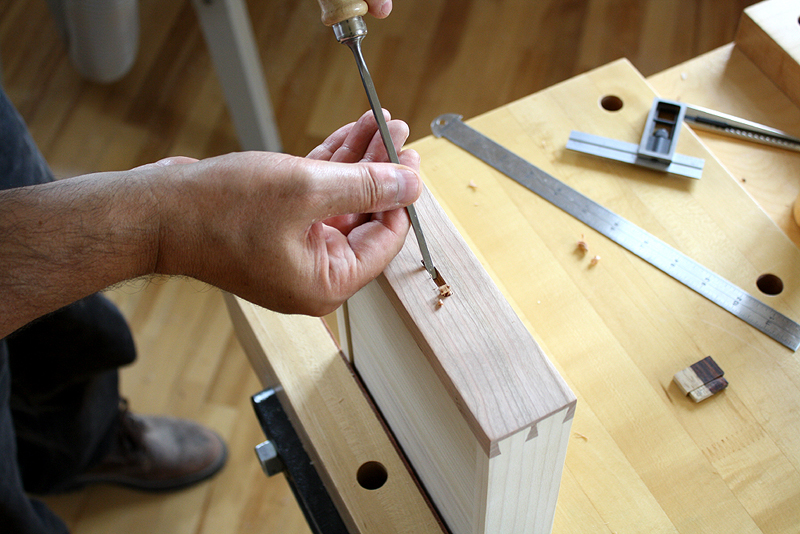
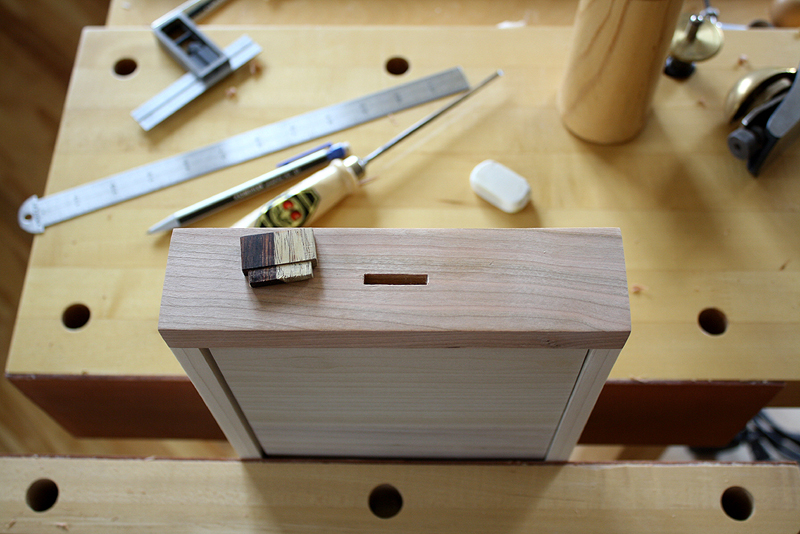
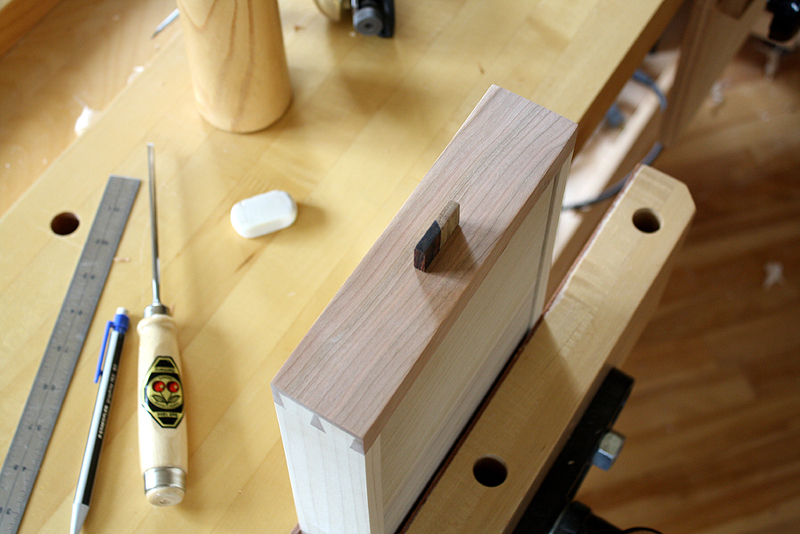
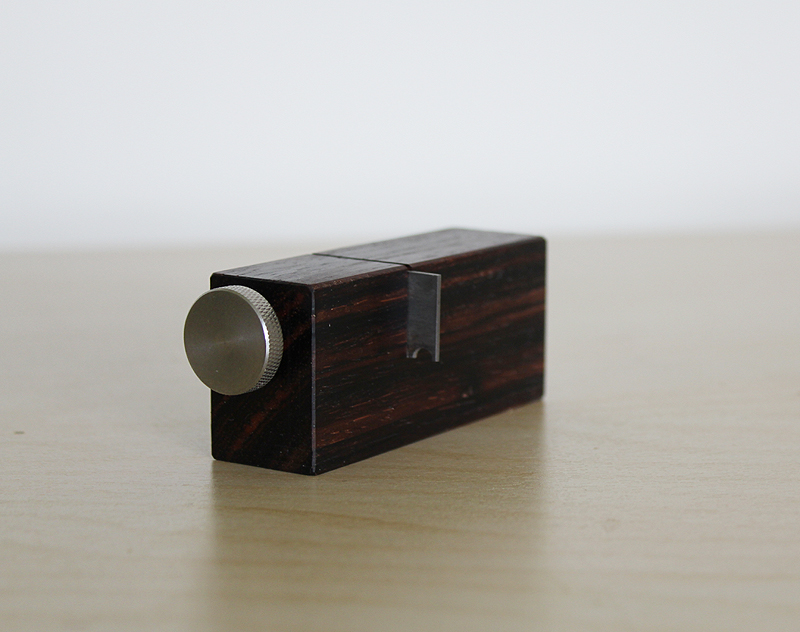
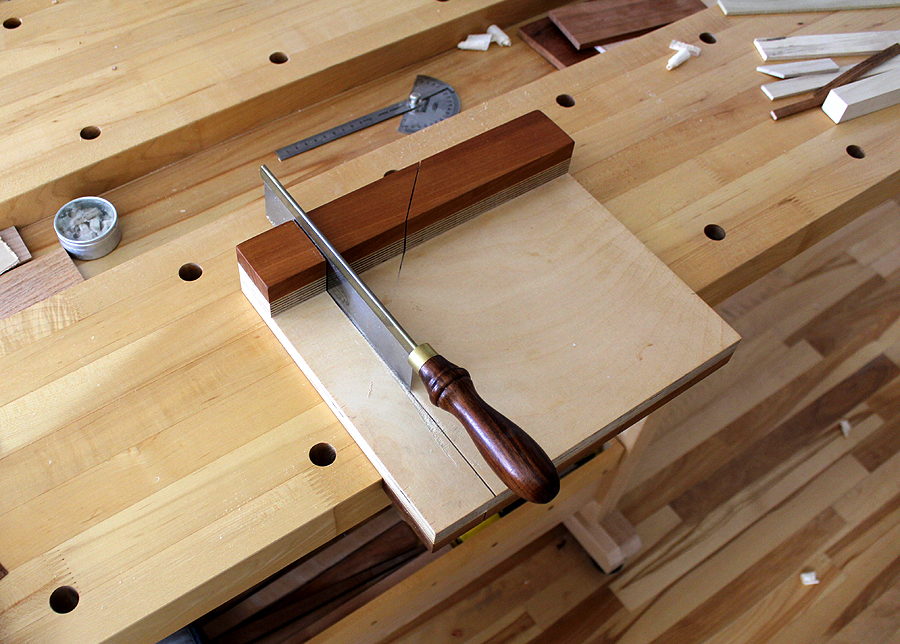
The wide front bench stop also serves to prevent the board from rotating or shifting sideways as it has a large bearing surface for the front edge of the board. Bench stops (front and side) are friction fit so they can be raised (1/4 in. to 3/4 in.) to accommodate thicker boards, very much like a bench dog. Otherwise, the minimum height of the bench stops would be approximately 1/4 inch. The hole spacing is arbitrary and based on the type of board sizes I typically hand plane in my own furniture making. two inch long birch dowels are glued in the bench stops using ebony wedges. The wedges are inserted into kerfs created in the ends of the dowels for tightness. Kerfs at the ends of the dowels are cut on a bandsaw.
A benefit of having a board simply against bench stops is that you really cannot drag the plane back in your strokes since it would pull the board back. This trains you to lift the handplane instead of dragging it back. The only wear on the blade then is from the forward stroke. Also you eliminate the tendency of bowing a thinner board caused by clamping between bench dogs and tail-vise and distorting the board while planing. You also gain more tactile feedback and control of your planing and it becomes easy and quick to re-orientate the board end for end or flip it over, etc.
Typical bench stop setup to act as a tail vise.
More holes can be added to allow for very short boards as done in bottom pictures. It is then a matter of swinging the side bench stop around towards the front bench stop. The spacing and location I have selected is optimized for the length and width of boards I typically handplane in my furniture making.
The bored 3/4 in. holes can also be used for bench dogs and holdfasts for irregular sized pieces.
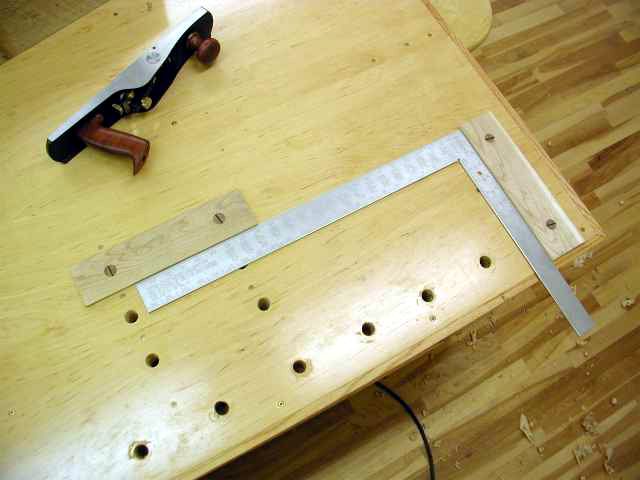
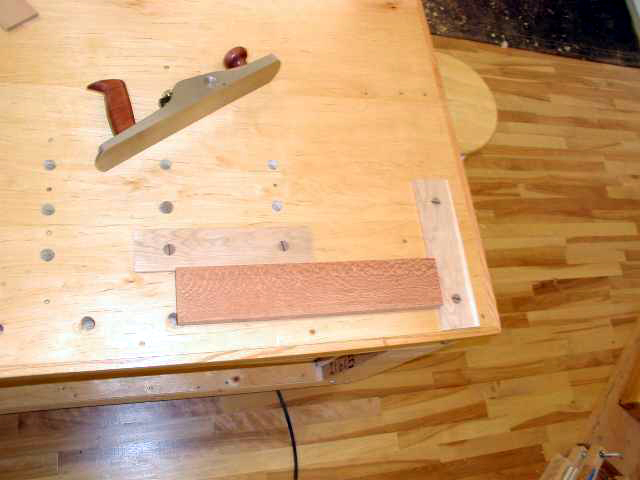
Align side bench stop to be perpendicular with face of front bench stop using a large square to mark holes. This will ensure the complete edge of the bench stop is against the board to be planed.
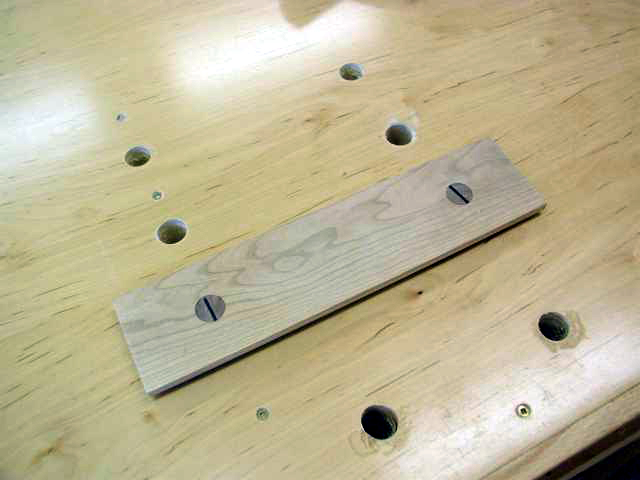
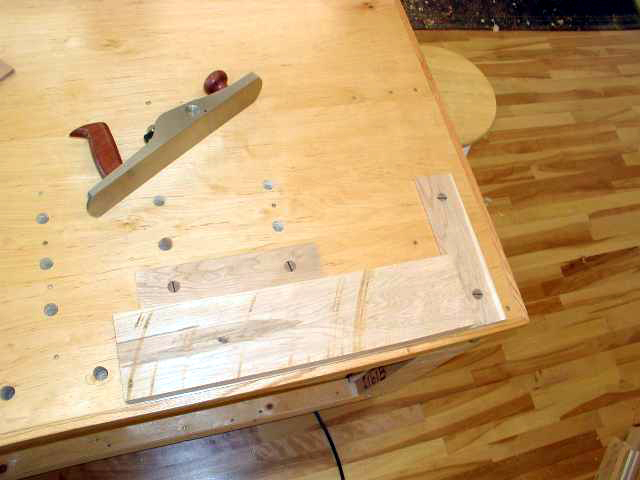
Side bench stop set to narrowest width, closest to edge of bench.
Bench stops can be raised or lowered as conventional bench stops for thinner or thicker boards.
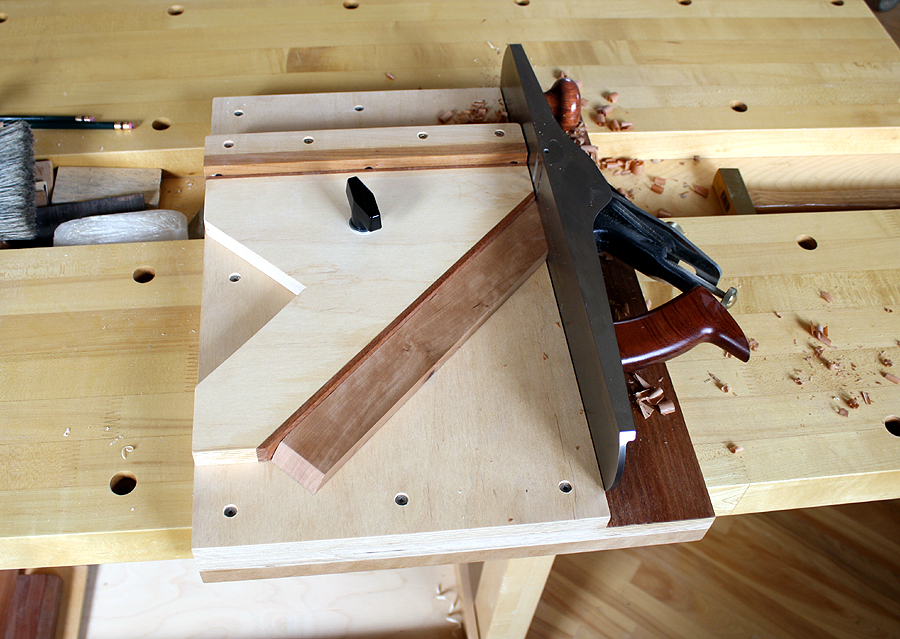
A short, narrow piece of lacewood being planed.
Parallel set of holes bored to accommodate shorter and wider boards shown above. It is recommended to lay out all the holes you will need for this system and then drill them. This ensures that all holes are square and perpendicular to each other and the front bench stop.
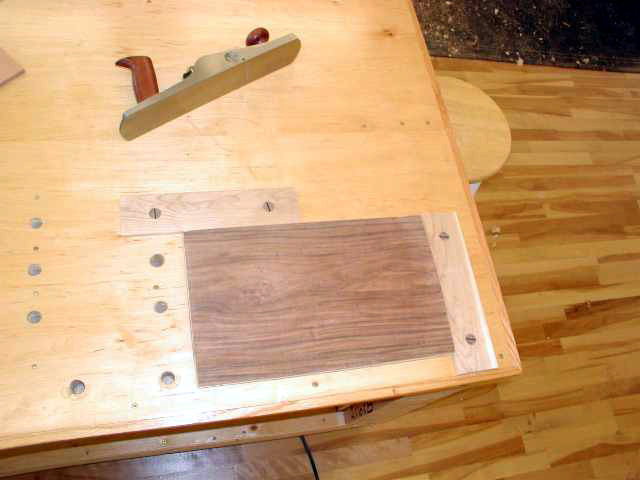
A small, wide panel being face-planed.
Developing this alternative tail vise idea led to an article on bench stops and jigs I wrote for Fine Woodworking Magazine. The article 4 Bench Jigs for Handplanes was published in early 2009.
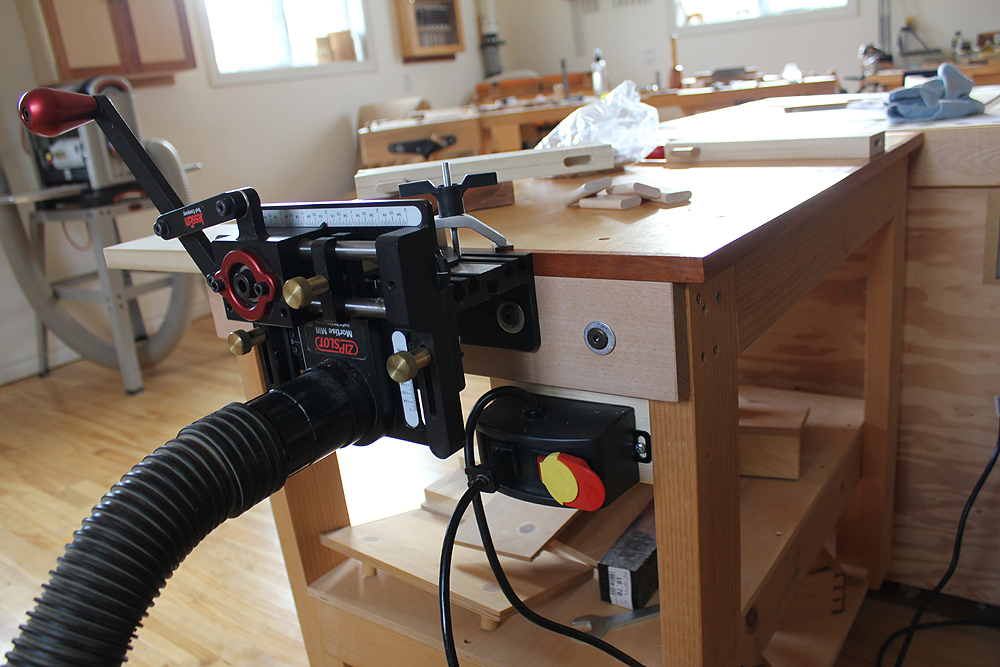
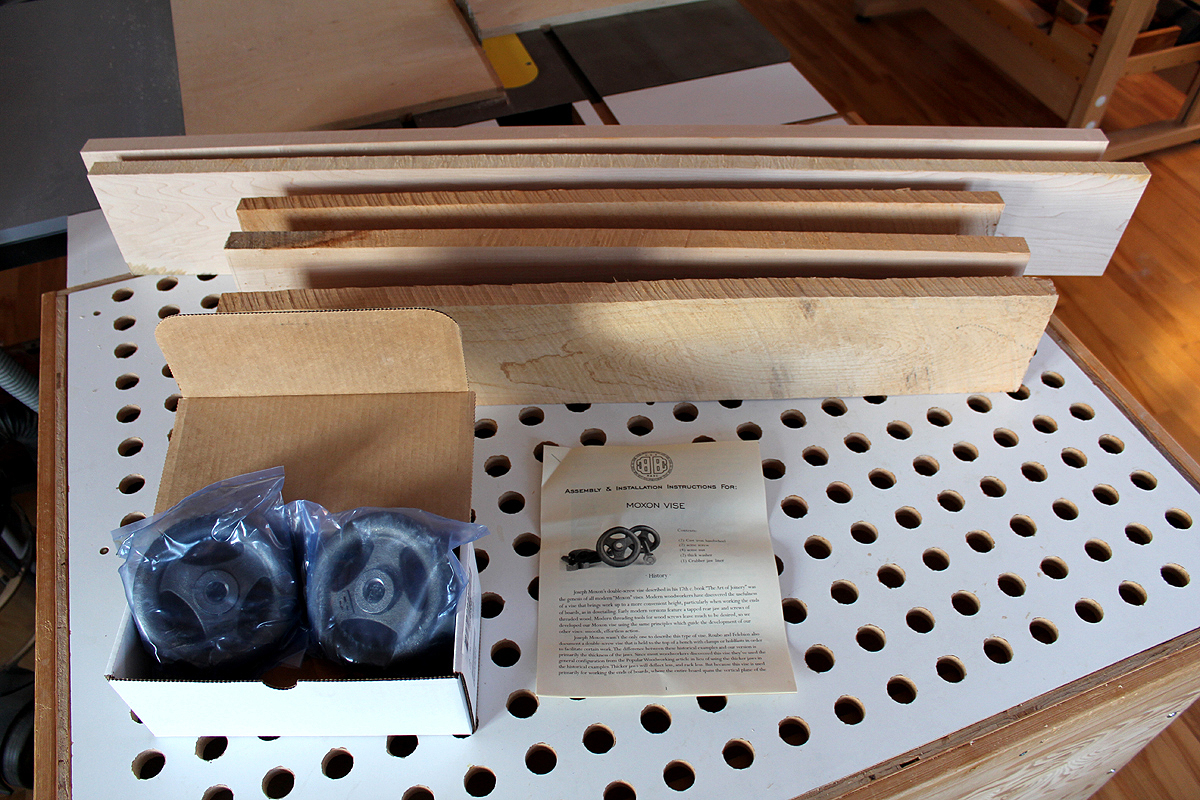 I’m not 100% sure of the origins of the Moxon vise design, but it is widely attributed to Joseph Moxon. Joseph Moxon (August 1627 – February 1691), hydrographer to Charles II English printer specialising in mathematical books and maps. Moxon’s 17th century book The Art of Joinery first described the double-screw vise. In this historical publication was documented the Moxon vise – a double-screw held to a workbench top with clamps or holdfasts in order to facilitate certain work.
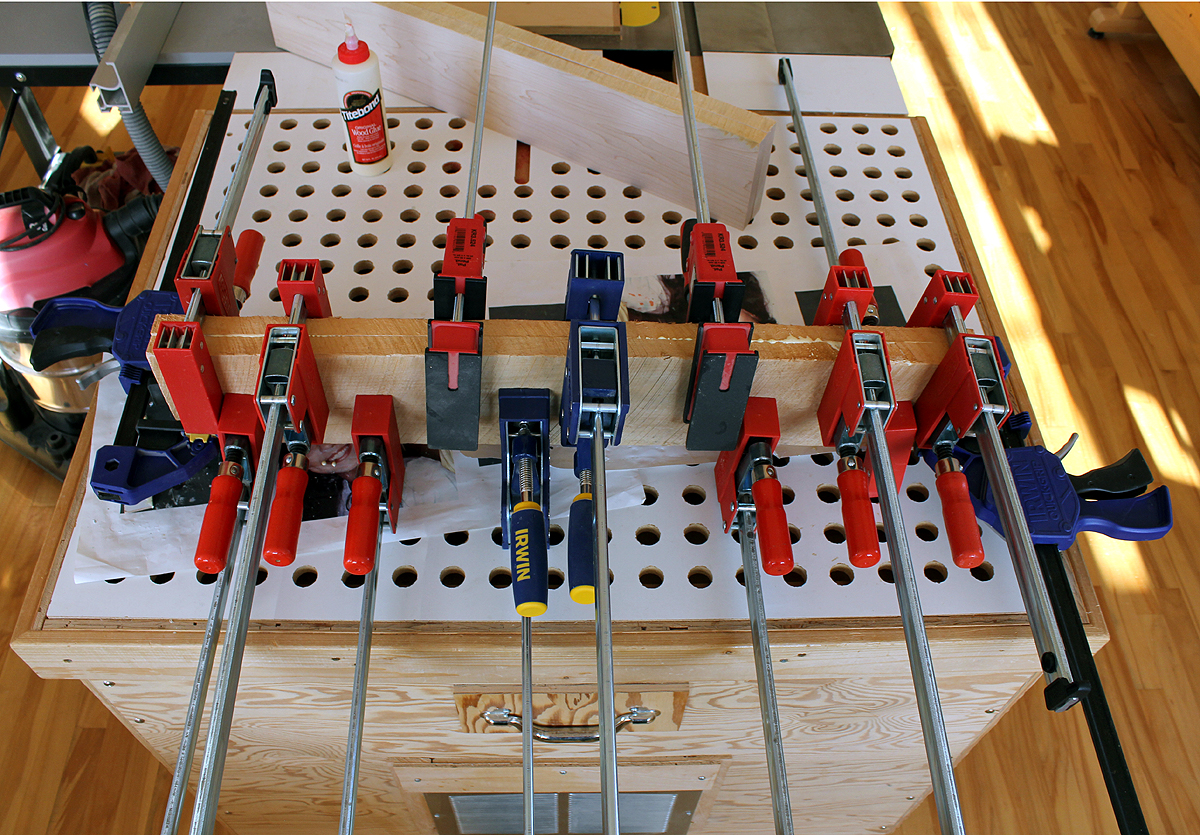 So after deliberating on the design, I simply went at it and worked on the front and rear jaws. Not having 8/4 stock available to me, I opted to laminate some 4/4 maple pieces instead. In the past, I have had success with the strength and stability of 4/4 boards laminated together. In selecting the boards, I mixed the grain orientations up so each of the laminated boards would counter the grain of the other board. This, in my opinion, balances out the internal stresses of the woods and keeps it all straight and stable. Laminating one of the jaws here with 4/4 boards. As they say, one never has enough clamps. In the pic above, this was almost the case, but it worked out. I do have other clamps, but for the most part, they are lighter.
 In the online furniture design course you will acquire skills necessary to design and create your own unique furniture. Learn to develop your own style of furniture and aesthetic. Over 3 hours in total. The course features videos on these topics:

 In that period, I had completed a series of courses at a high-end furniture making school and began to use hand tools more in my work. I recall that the year 2006 was an important juncture in my woodworking. I had embraced the Krenov philosophy and his methods of work. Reading and attending the fine furniture making school inspired me to increase the complexity and scale of my woodworking. I also learned to slow down my woodworking and focus instead on each and every piece rather than applying myself to creating in batch mode ( multiples). So my direction changed dramatically in the years 2006-2008 to where I now design + build one-off furniture pieces exclusively.
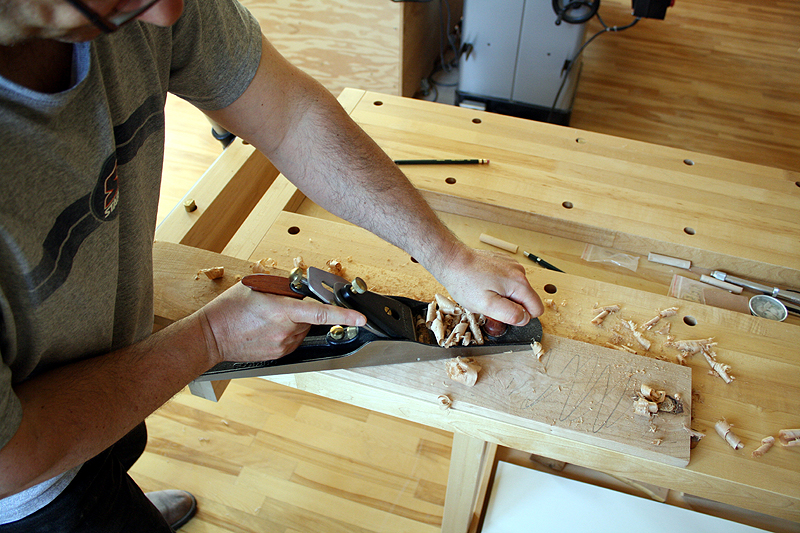
 The following topics are covered in detail in this 16 part design and build class:
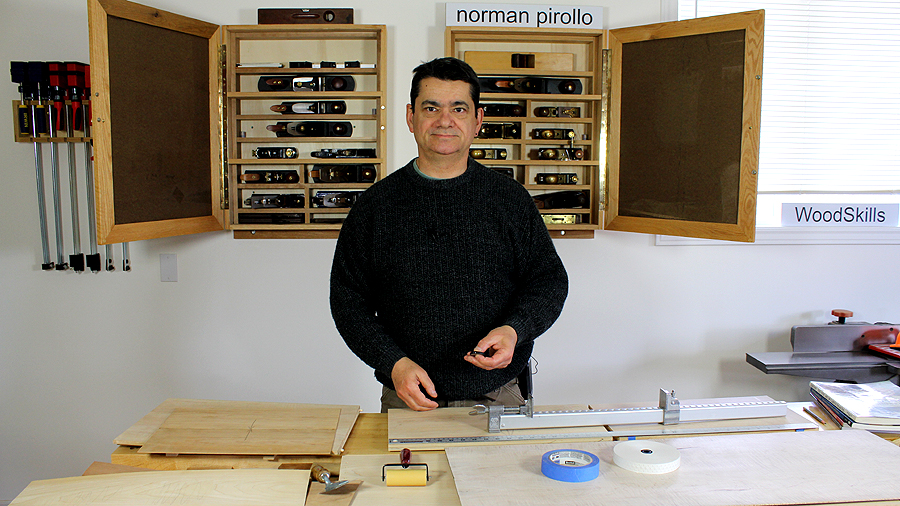

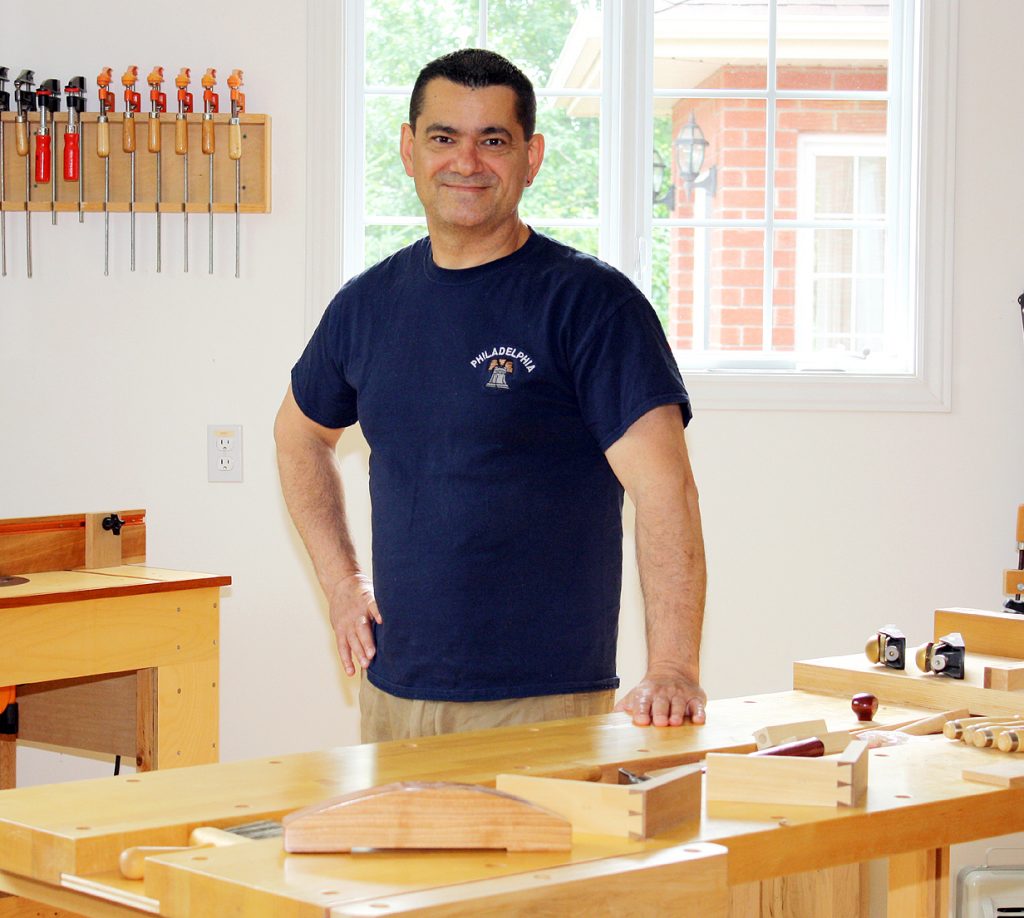
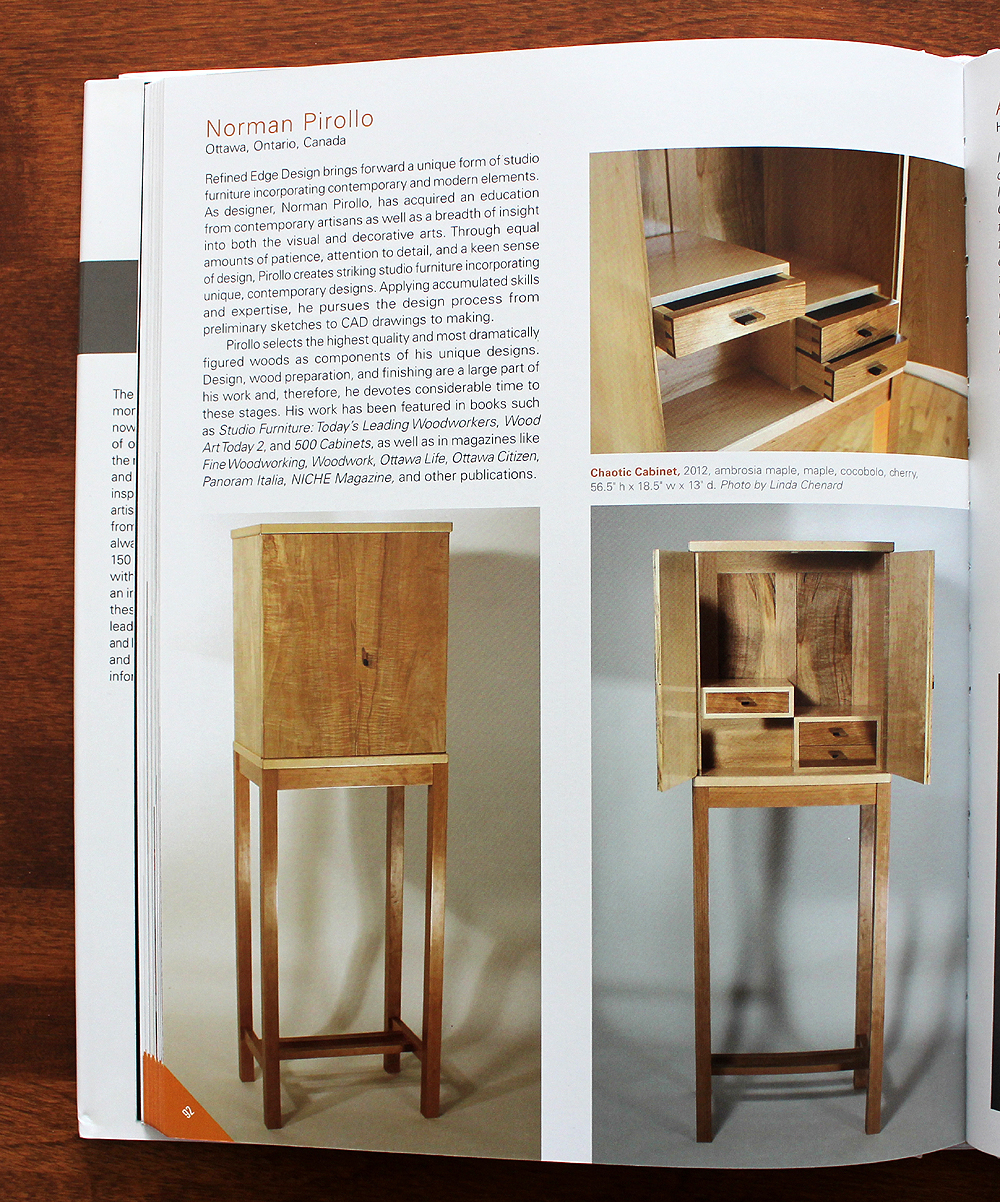
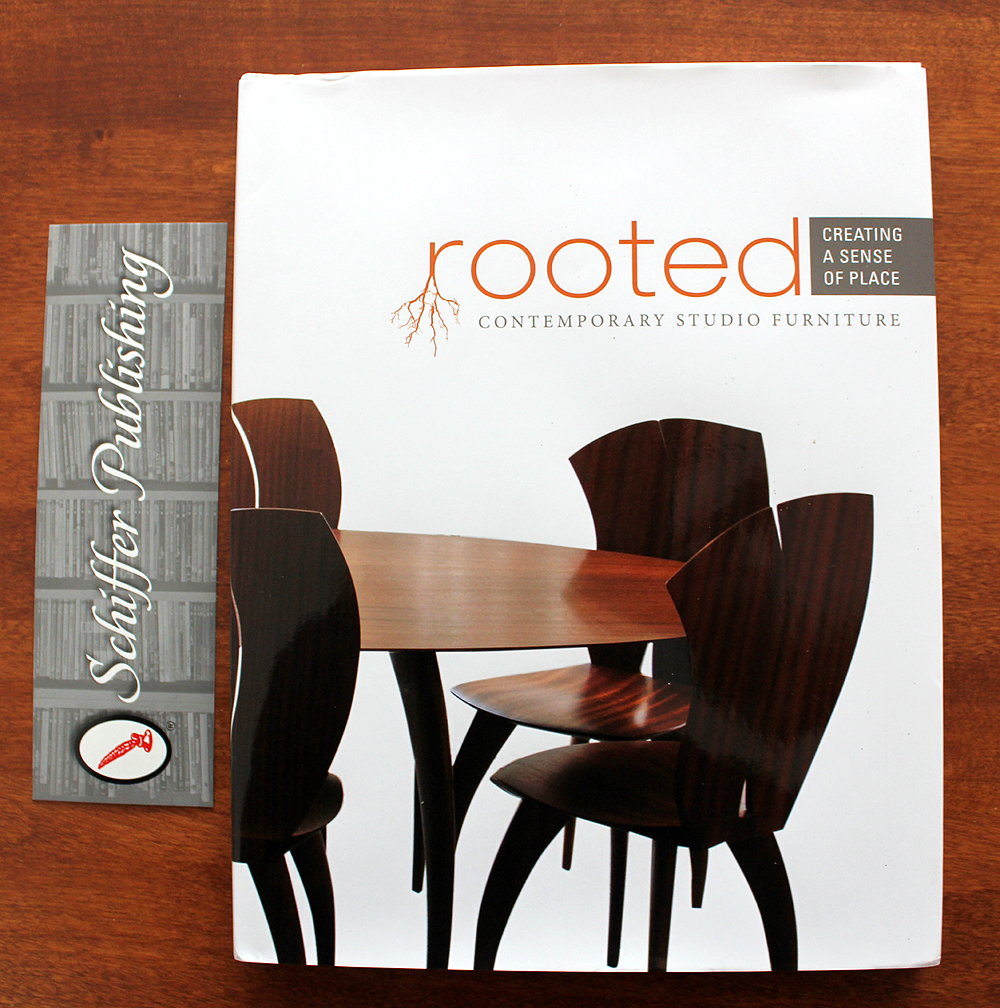
 Norman maintains a blog of ongoing projects in his studio at: pirollodesign.com as well as having recently written and published four books. Books and magazines featuring the authors furniture, work methods and philosophy:
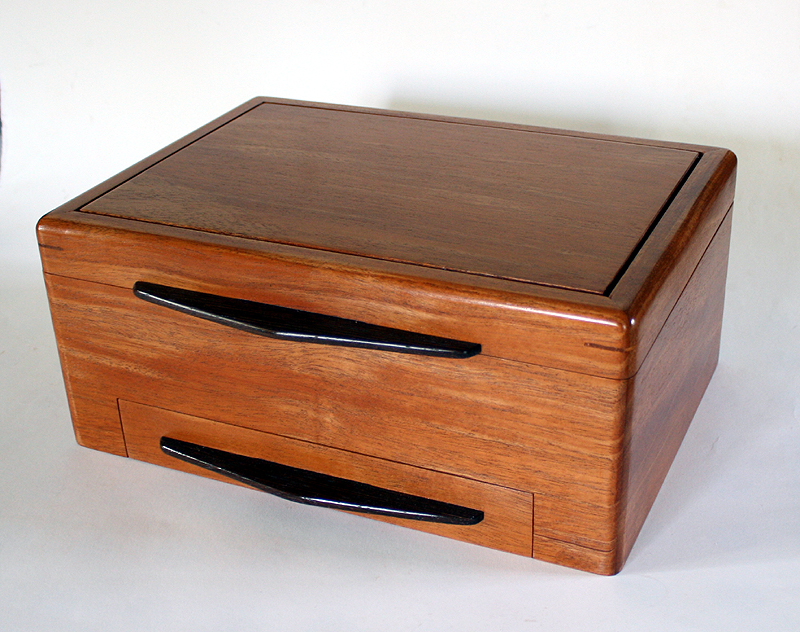
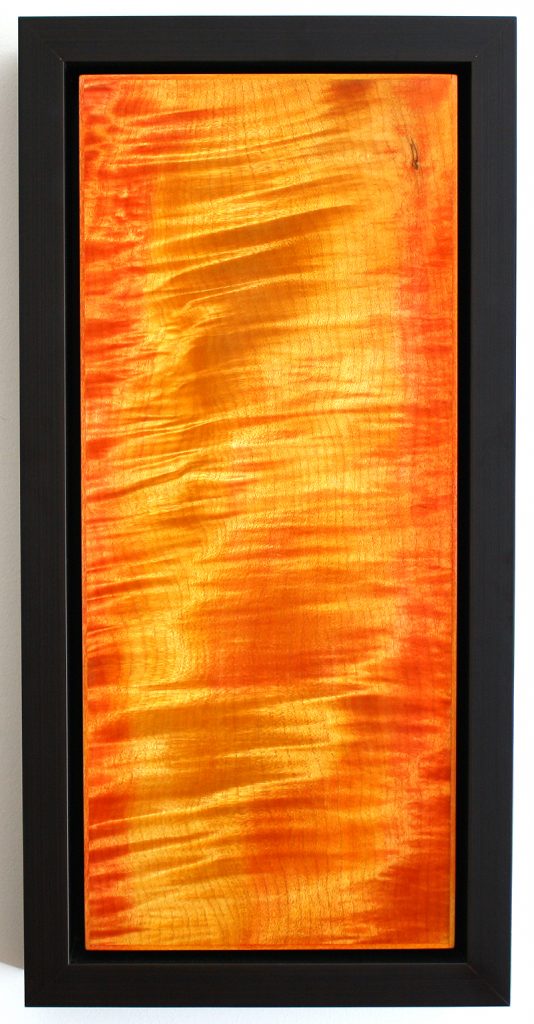 Uniquely designed wall art in a three dimensional contemporary styling. Highly figured quilted maple evokes a unique depiction. The wall art is raised and set in a black frame to provide three dimensionality and depth. All surfaces are hand planed and scraped to provide meticulous attention to both detail and finishing. Finishing performed utilizing a classic French Polishing technique.
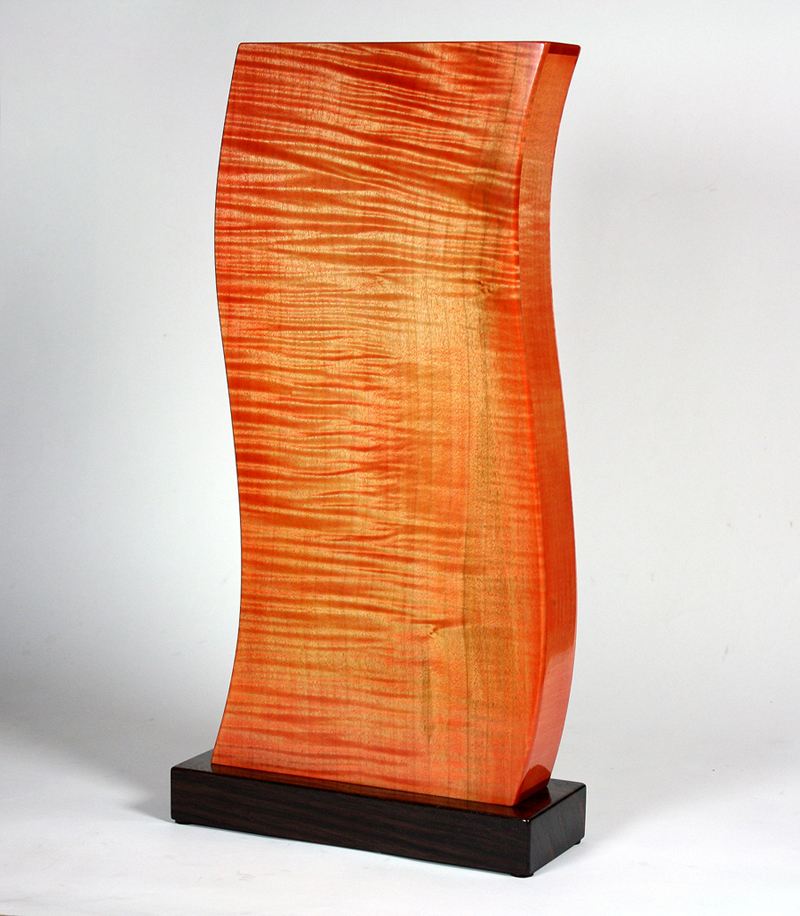 Uniquely designed sculpture in a three dimensional contemporary style. This organic sculpture depicts a raging inferno and is composed of a combination of highly figured maple, clear maple and a rosewood base. Meticulous attention is provided to detail and finishing. Finished with multiple coats of thinned shellac in a French Polish process. This process maintains the clarity and depth of the figured woods and draws out the natural undulating graphics.
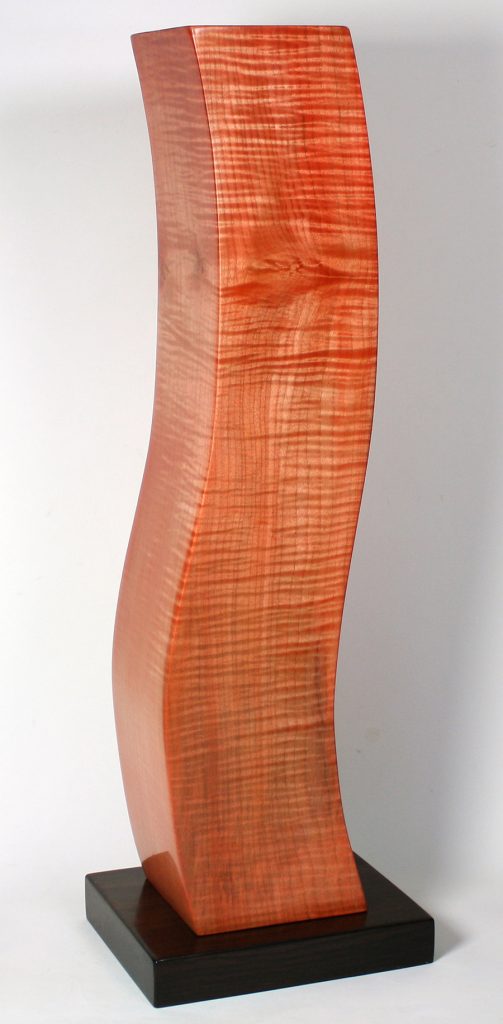 Uniquely designed sculpture in a three dimensional contemporary style. This organic sculpture depicts a rising flame and is composed of highly figured maple with a rosewood base. Meticulous attention is provided to detail and finishing. Finished with multiple coats of thinned shellac in a French Polish process. This process maintains the clarity and depth of the figured woods and draws out the natural undulating graphics.
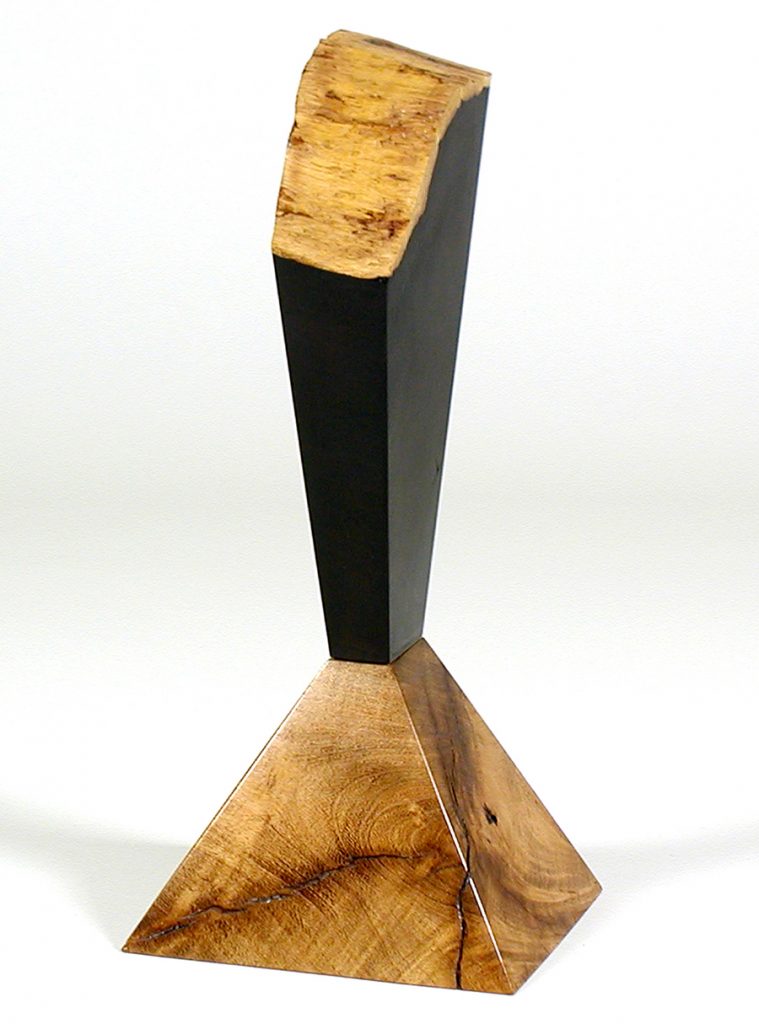 Uniquely designed sculpture in a three dimensional modern style. This upper part of the sculpture is a tapered pie-shaped cross-section of an African blackwood tree which includes the lighter live edge or bark portion. The base of the sculpture is sliced from a mesquite tree. Meticulous attention is provided to detail and finishing. The wood is not stained and attains a natural patina over time and with exposure to ambient light. Finished with multiple coats of thinned shellac.
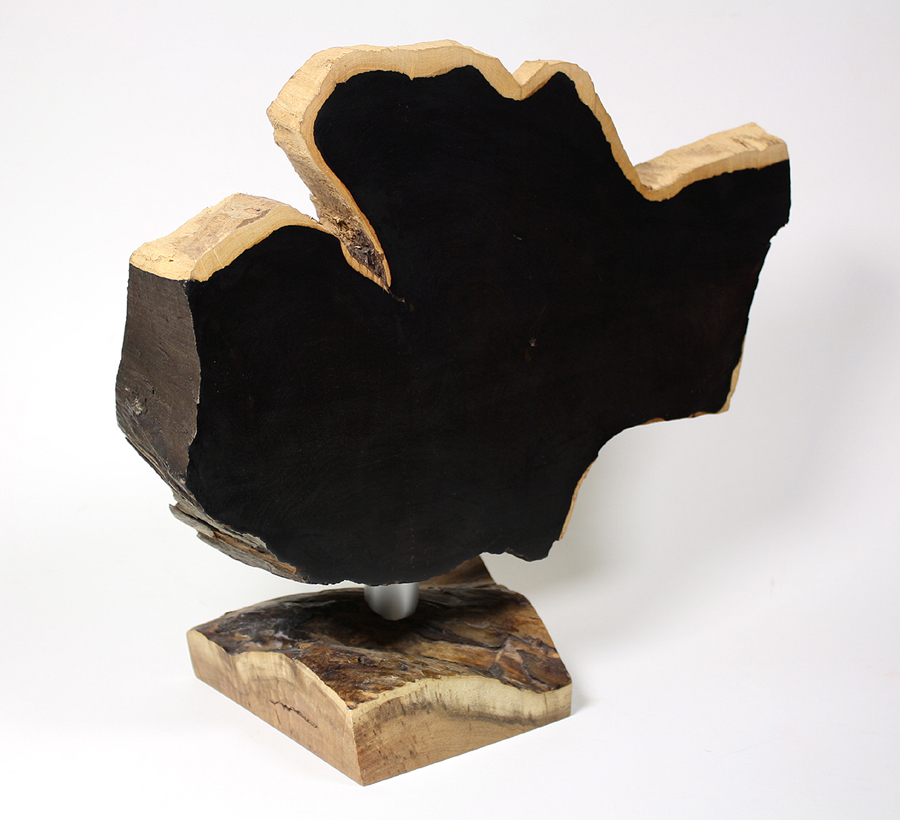 Uniquely designed sculpture in a three dimensional modern style. This sculpture is a cross-section; of an African blackwood tree which includes the lighter live edge or bark portion. The natural organic shape of the sculpture displays the beauty which nature has provided us. The base of the sculpture is sliced from a mesquite tree and outlines the natural growth rings which have accumulated over time. Meticulous attention is provided to detail and finishing. The wood is not stained and attains a natural patina over time and with exposure to ambient light. Finished with multiple coats of thinned shellac and polished.
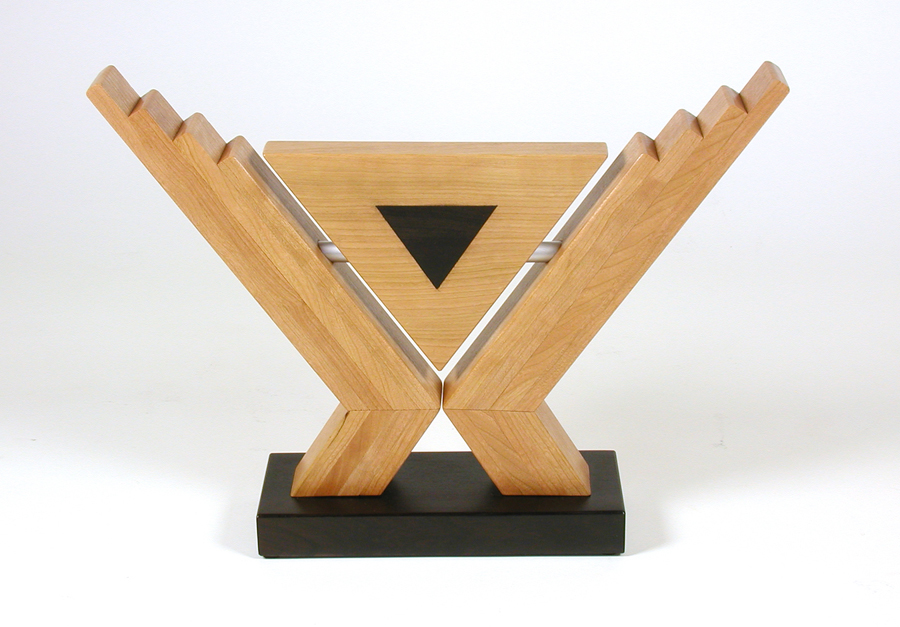 Uniquely designed mixed media sculpture in an art deco style. Angular cherry sides combine both stepped form and chevron design elements. The triangle shaped center has a blackwood inlay. This combination of art deco style elements symbolizes a cupping or holding in reverence of the center component. Metal serves to join the center piece to the sides. The base is solid blackwood. Surfaces are hand scraped and formed. Meticulous attention is provided to both detail and finishing. The wood is not stained and attains a natural patina over time and with exposure to ambient light. Finished with multiple coats of thinned shellac, polished and waxed.
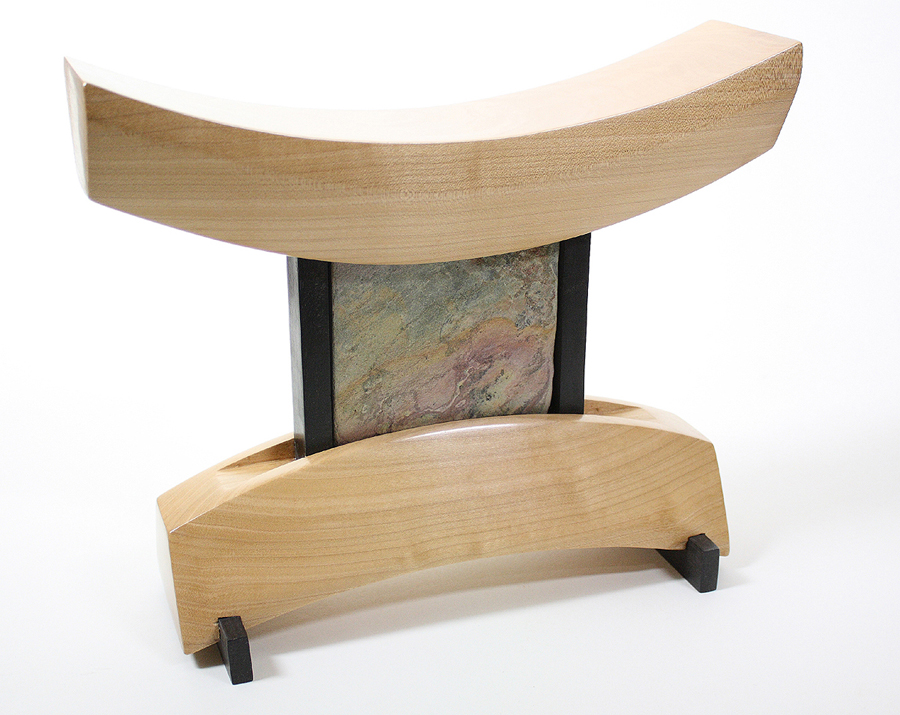 Uniquely designed sculpture in a three dimensional modern style. This sculpture depicts a shrine and is composed of a combination of big leaf maple, ebony, stone and blackwood. Meticulous attention is provided to detail and finishing. The wood is not stained and attains a natural patina over time and with exposure to ambient light. Finished with multiple coats of thinned shellac.
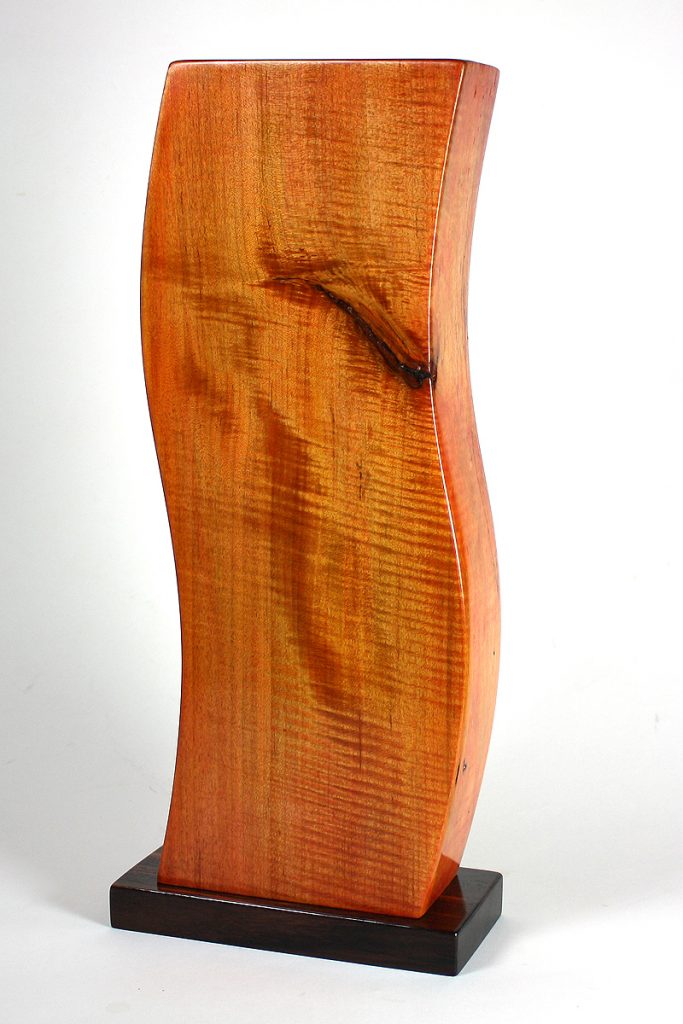 Uniquely designed sculpture in a three dimensional contemporary style. This organic sculpture depicts a rising flame and is composed of highly figured maple with a rosewood base. Meticulous attention is provided to detail and finishing. Finished with multiple coats of thinned shellac in a French Polish process. This process maintains the clarity and depth of the figured woods and draws out the natural undulating graphics.
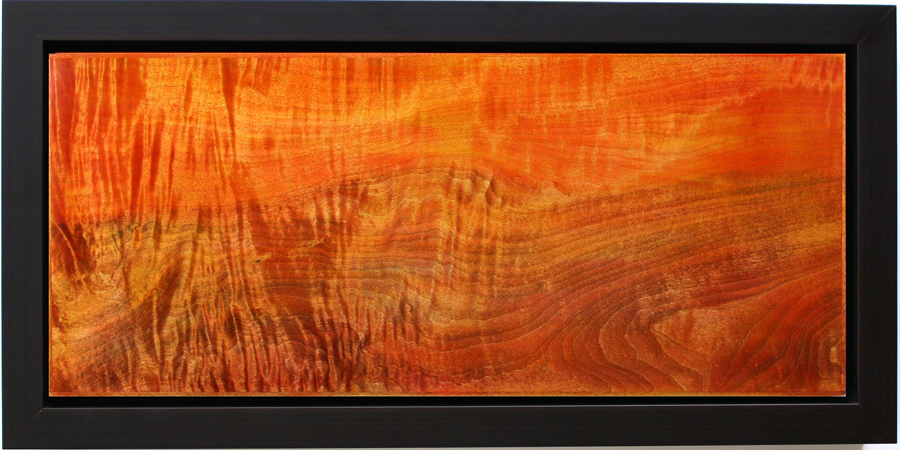 Uniquely designed wall art in a three dimensional contemporary styling. Highly figured quilted maple evokes a unique depiction. The wall art is raised and set in a black frame to provide three dimensionality and depth. All surfaces are hand planed and scraped to provide meticulous attention to both detail and finishing. Finishing performed utilizing a classic French Polishing technique.
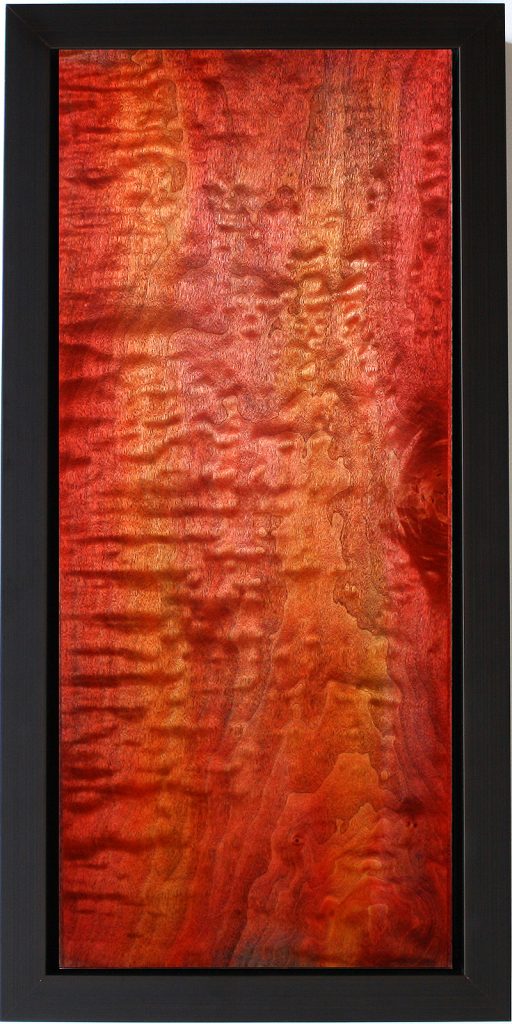 Uniquely designed wall art in a three dimensional contemporary styling. Highly figured quilted maple evokes a unique depiction. The wall art is raised and set in a black frame to provide three dimensionality and depth. All surfaces are hand planed and scraped to provide meticulous attention to both detail and finishing. Finishing performed utilizing a classic French Polishing technique.
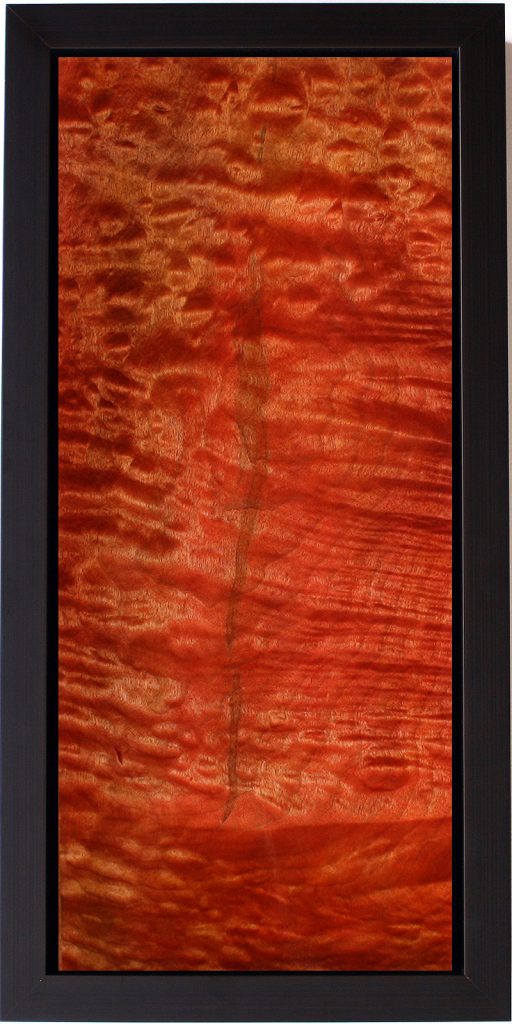 Uniquely designed wall art in a three dimensional contemporary styling. Highly figured quilted maple evokes a unique depiction. The wall art is raised and set in a black frame to provide three dimensionality and depth. All surfaces are hand planed and scraped to provide meticulous attention to both detail and finishing. Finishing performed utilizing a classic French Polishing technique.
 Uniquely designed wall art in a three dimensional contemporary styling. Highly figured quilted maple evokes a unique depiction. The wall art is raised and set in a black frame to provide three dimensionality and depth. All surfaces are hand planed and scraped to provide meticulous attention to both detail and finishing. Finishing performed utilizing a classic French Polishing technique.
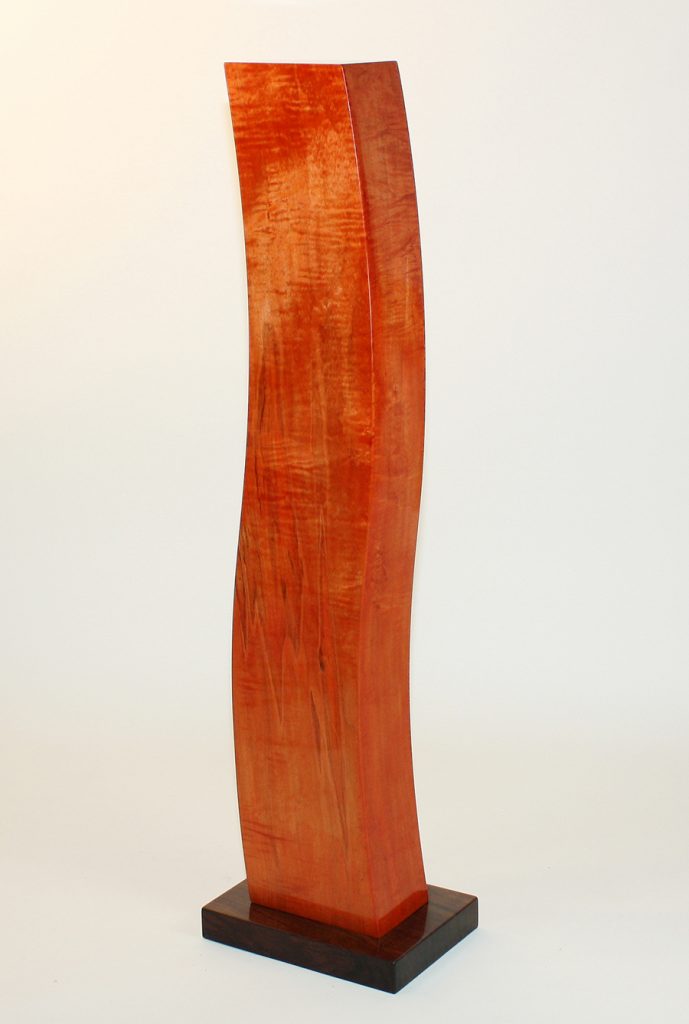 Uniquely designed sculpture in a three dimensional contemporary style. This organic sculpture depicts a rising flame and is composed of highly figured maple veneers with a rosewood base. Meticulous attention is provided to detail and finishing. Finished with multiple coats of thinned shellac in a French Polish process. This process maintains the clarity and depth of the figured woods and draws out the natural undulating graphics.
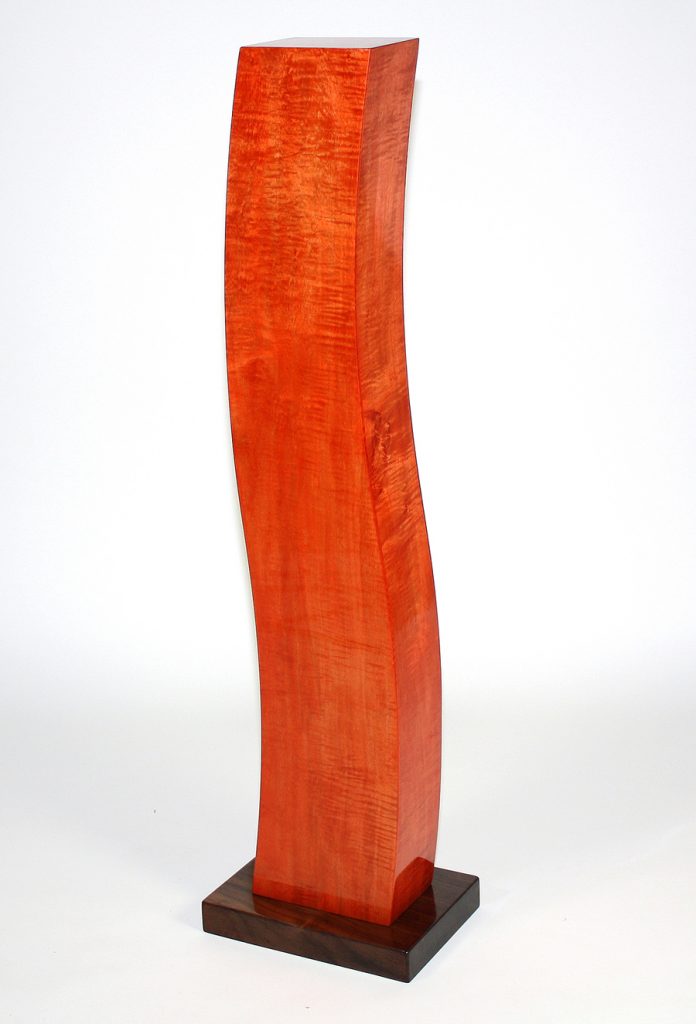 Uniquely designed sculpture in a three dimensional contemporary style. This organic sculpture depicts a rising flame and is composed of highly figured maple veneers with a rosewood base. Meticulous attention is provided to detail and finishing. Finished with multiple coats of thinned shellac in a French Polish process. This process maintains the clarity and depth of the figured woods and draws out the natural undulating graphics.
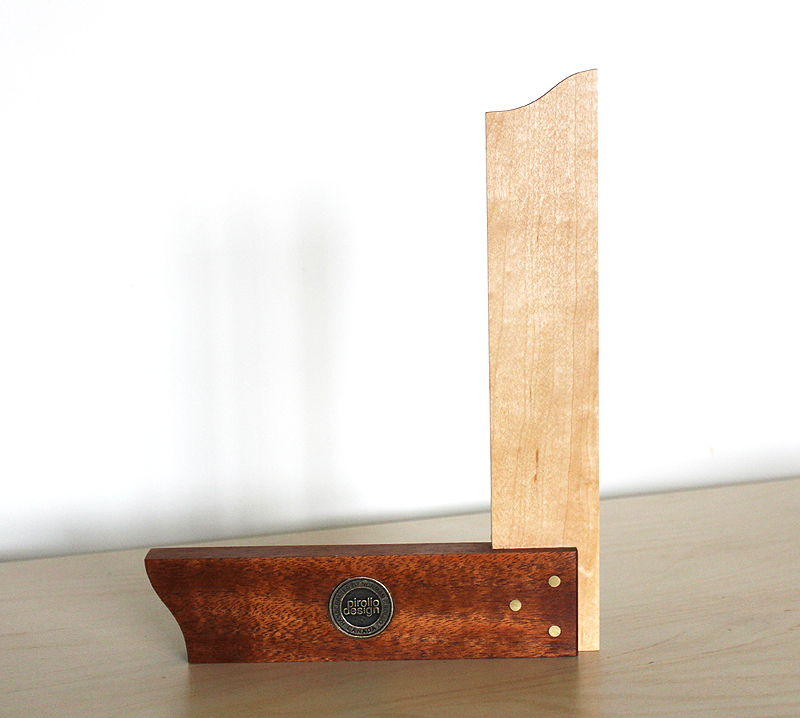
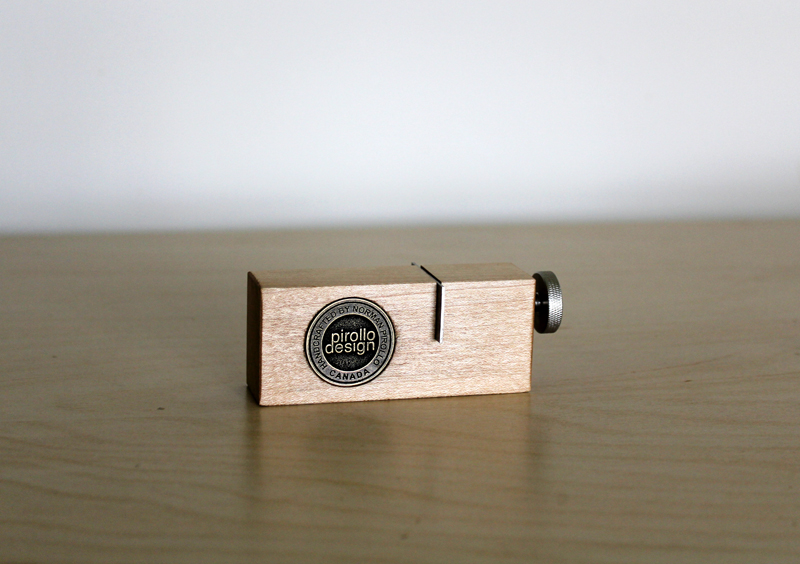
 So I also use the new maker’s mark for my other work, namely woodworking tools. I find a place on each tool to inlay the maker’s mark. In a strange way, adding a maker’s mark inspires me to do my best work. Attaching my name to a furniture piece or handmade tool makes me more conscious of how the tool or furniture will likely be passed on from generation to generation.
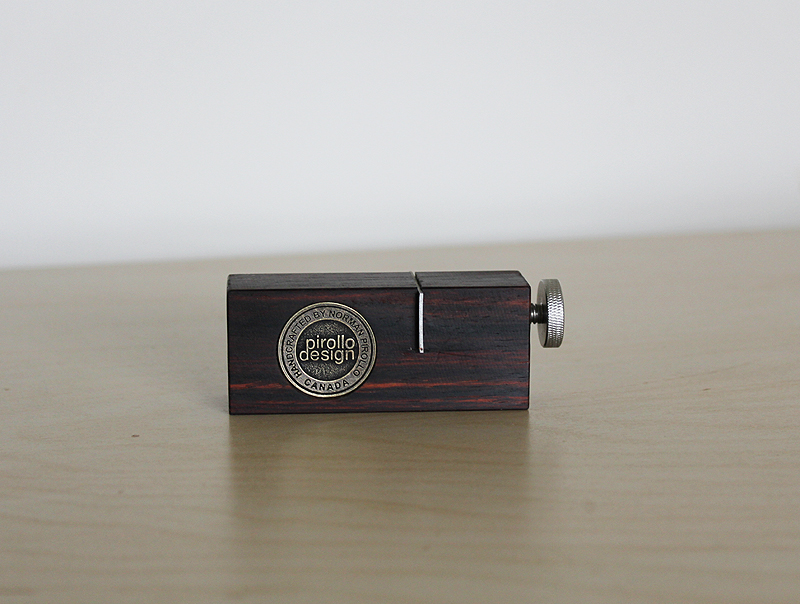 Furniture maker’s marks also provide a historical point of reference to a piece of furniture or tool. The maker and country of origin can then be traced back to a particular maker. Maker’s marks can be stamped on a furniture piece or hand tool or created as brass inlay similar to this new one applied to my work.
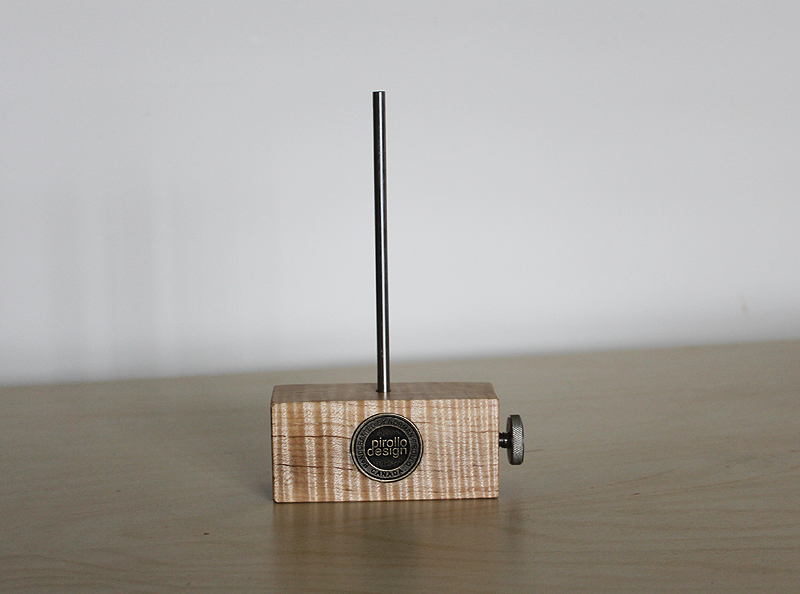 I hope everyone is enjoying the summer. It is my favourite time of year. I can shed the layers of clothing of other seasons and simply walk out the door. No complaints here about heat or humidity. This only really lasts a few weeks or months and the freezing cold alternative is always fresh on my mind 🙂
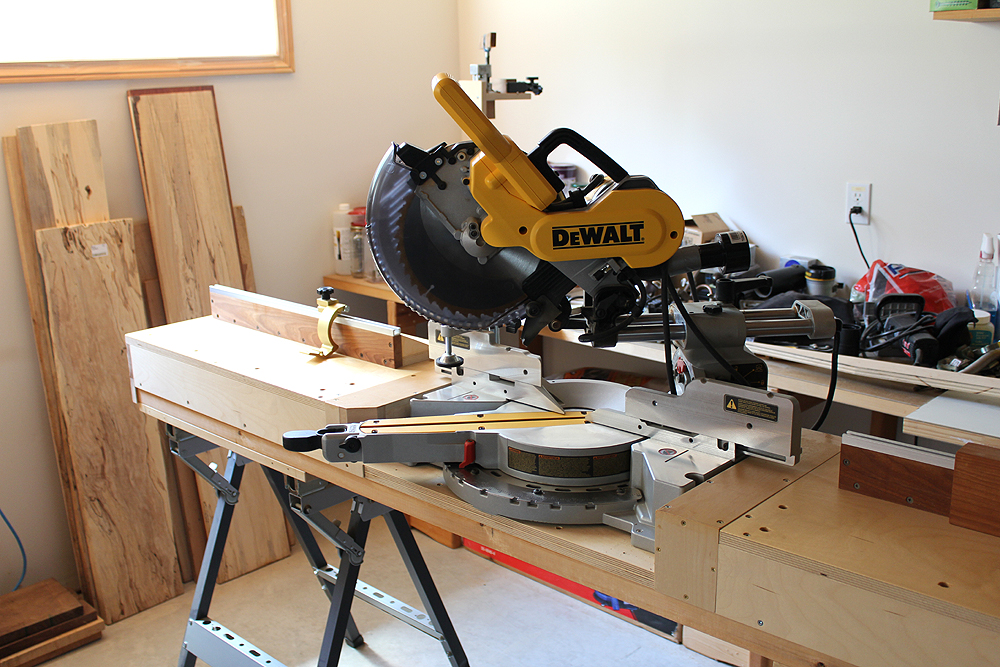
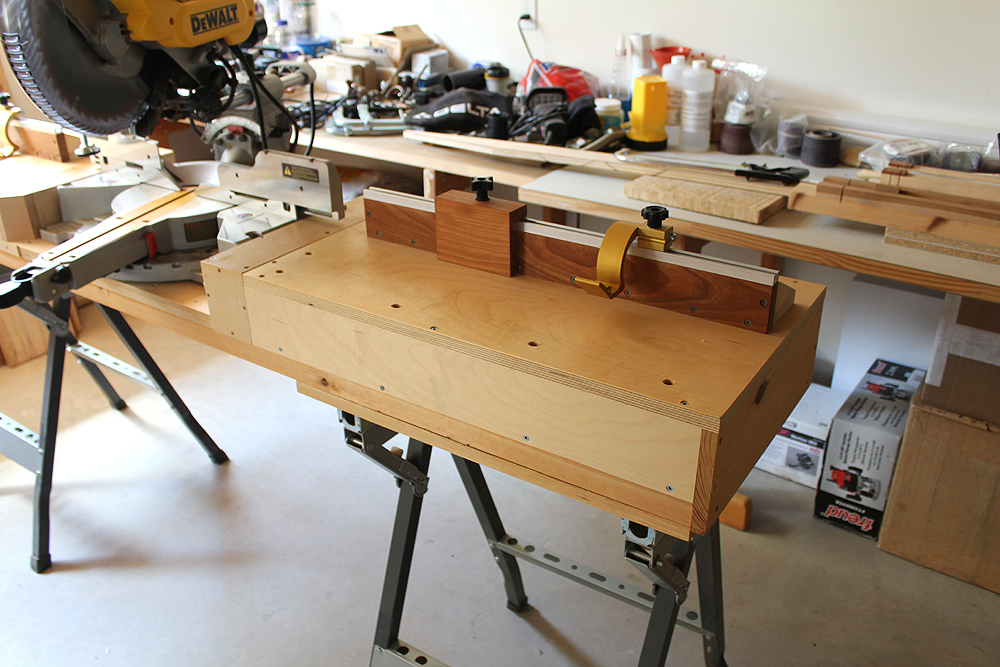
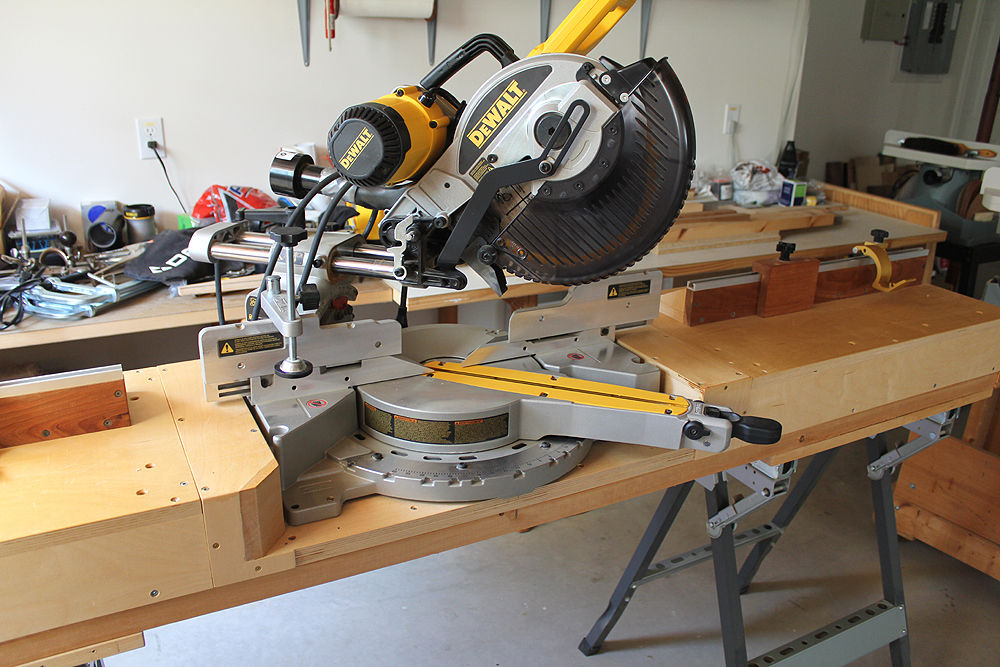 I have been using this miter saw and stand setup for a long while now. I never did fold and put it away. It is so convenient that I prefer it to remain set up. Soon after using it for the first few times, I realized dust control would be necessary. A dust port adapter was set up to connect the exhaust port to a dedicated shop vacuum. Still debating whether I need to make a dust shroud for it, but it works well as is and I like that the miter saw isn’t hidden in a shroud. Overall, a fun, exciting build and at times challenging!
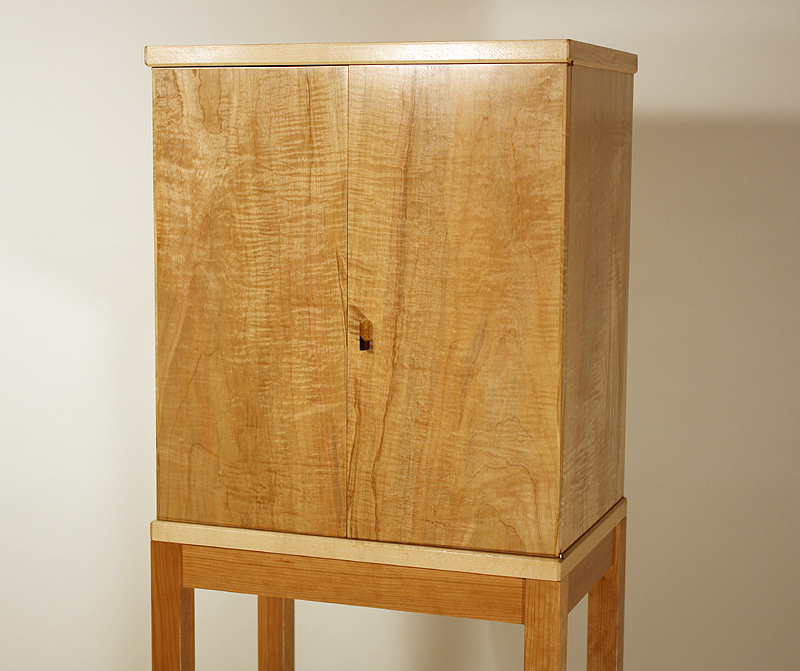
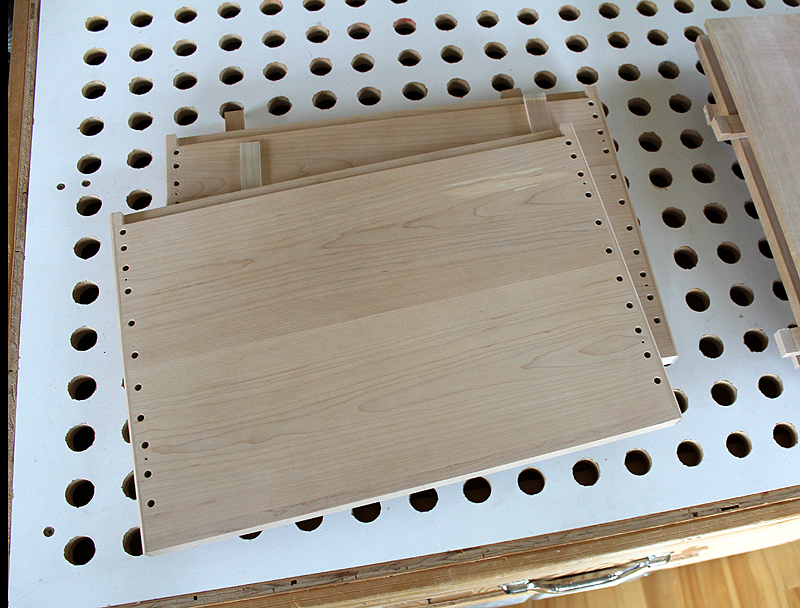
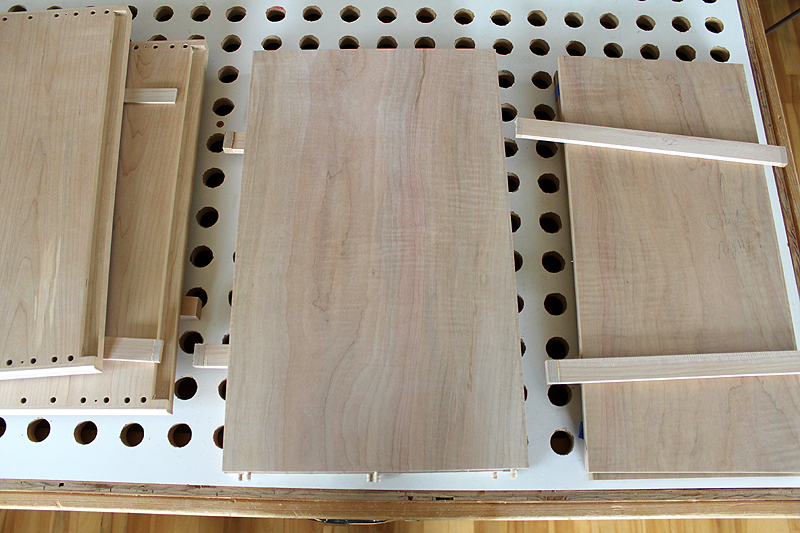 The dimensions in the current version will be close to that of the earlier version since the proportions appealed to me. I have not yet designed or created the components for the stand, so this might be different than the earlier version. What I typically do is build the cabinet, then begin work on the platform or stand. The process is not as overwhelming to me using this approach, as I prefer to work on a project in stages. The satisfaction of seeing tangible progress in the project motivates and excites me to continue 🙂 More details to follow on the individual components and joinery used.
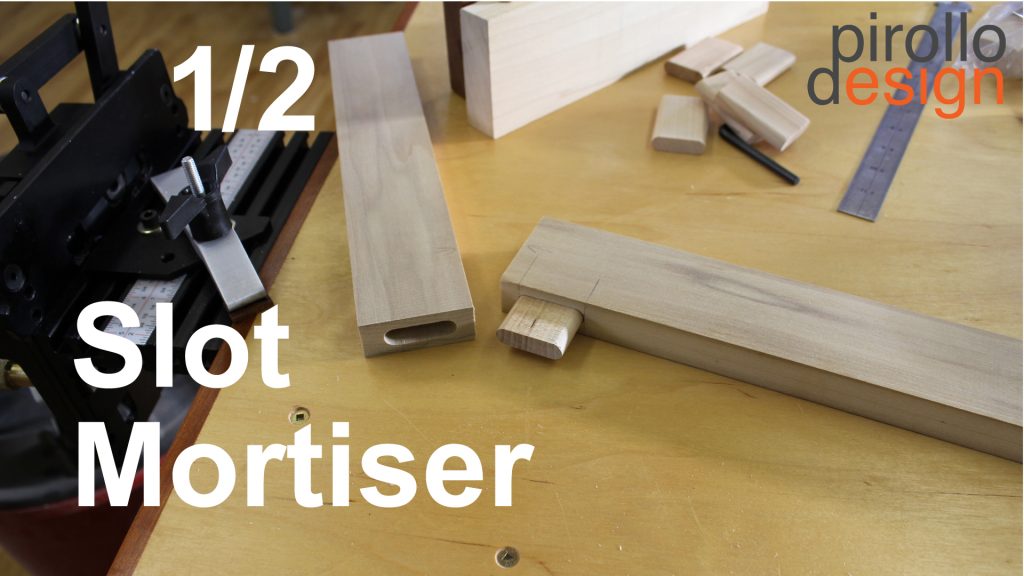 Other videos discuss hand planes,shooting boards and bench hooks. These are essential tools I use in my own workshop. Once familiar with these tools, your woodworking will arrive at the next level. Feel free to subscribe to the YouTube channel

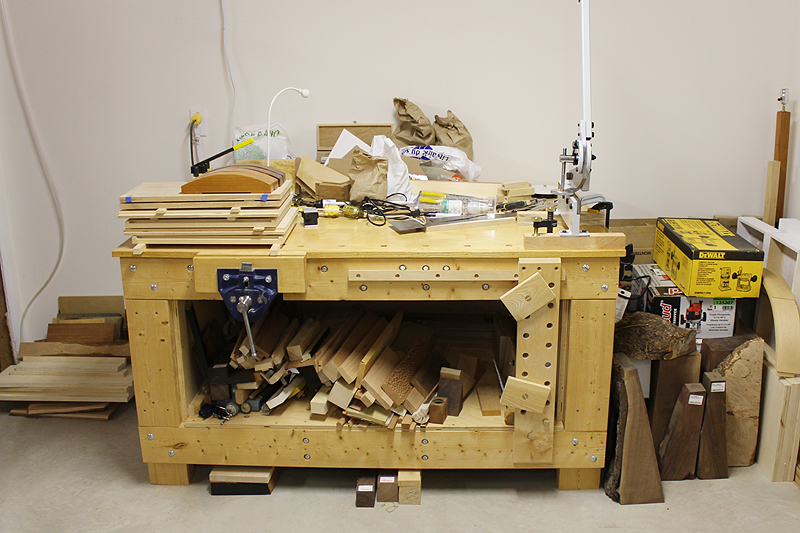
 With this all done, I tackled the shelves under two of my larger workbenches below. It is so true what they say that these shelves eventually become storage for anything and everything. By now I was merciless, I wanted clean surfaces free of clutter. This exercise also provided me the opportunity to get re-acquainted with some buried tools and hardware 🙂