Clearing the air…

With the experience of my first workshop in mind, dust control became a priority for me when designing my new workshop. I recall not only sweeping the floors in my previous shop but also sweeping the walls of dust. The dust was the flavour of the day, be it walnut, padauk, cherry, mahogany. The dark, exotic woods were the worst for dust. I installed some dust collection but it was never enough. At the time, my woodworking was more oriented towards the use of sanding in the final stages of a build, so this didn’t help. The dust collection I installed was to capture the dust at the source or as it was being generated. This worked to a degree but there would always be airborne dust floating around, a by-product of whatever wood processing I was performing at the time. This is the dust that collects on walls, stays in the air and is unfortunately breathed in.

Woodworking shop air cleaner

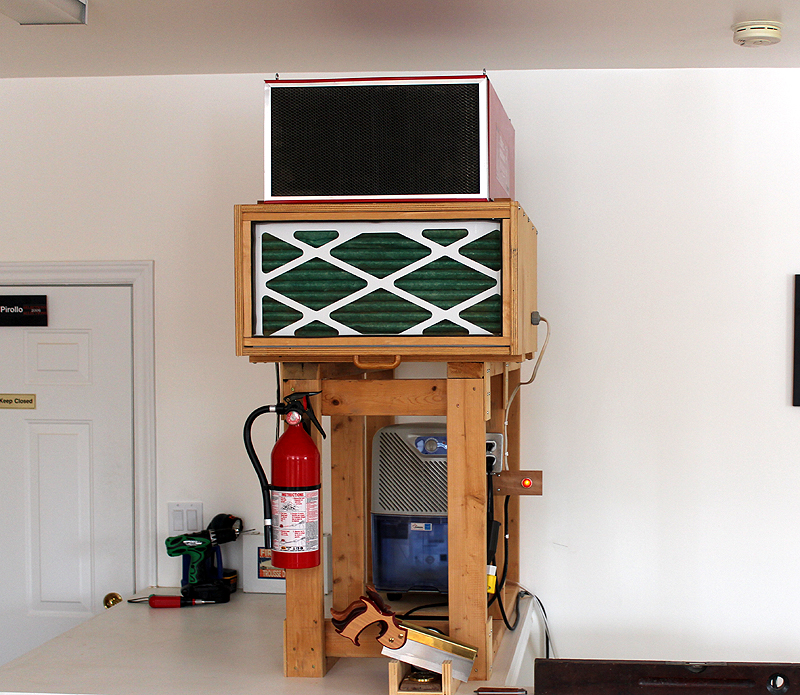
To combat this I built a 3-stage air cleaner as there were next to no commercial units available at the time or they were expensive. This helped considerably in capturing the airborne dust and I immediately became a believer in effective dust control. The shop made air cleaner can be seen here as well as a 3-stage commercial unit just above it. The shop made air cleaner is now moved into my new workshop and together these units effectively clean and circulate the air. Both units are stack-mounted in an unused part of the shop above a stairwell. The air in the shop is recirculated from top to bottom many times per hour and in the process scrubbing the air of fine particulate dust. I use these air cleaners in conjunction with two large capacity DC systems with blast gates at each of the stationary machines in the workshop. So dust control is an important part of my woodworking now. My woodworking today also places much less emphasis on sanding and instead I use hand tools to smooth surfaces of wood.

Woodworking air cleaner

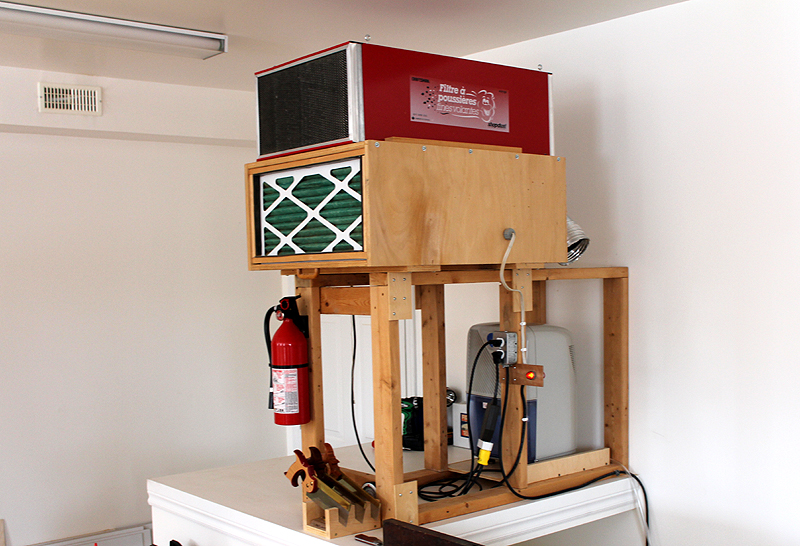
The air cleaners are turned on using a hand-held remote control. The most recent addition is the large red neon pilot lamp which indicates that the air cleaners are running. When I am using a machine, it is difficult to tell if the air cleaners have been turned on since the machine noise exceeds that of the air cleaners. The newly-installed red pilot lamp is immediately noticeable. The air cleaners also have ducting at the rear to direct air downwards to create the recirculating pattern for the shop air.

Wood offcuts (save or burn)…

Not the most exciting blog post but I finally got around to cleaning out the piles and piles of offcuts I had been storing throughout my workshop. What brought this about is I literally had run out of space, piles were brimming with wood offcuts of every size. It gets to a point where it doesn’t make sense to keep collecting the wood, I’ll only generate more anyway! So how to go about this task since the most difficult thing is parting with an offcut that might be of use in a future project as this is instilled in us as woodworkers. As we all know, hardwoods have become expensive so the offcuts become more precious as time goes on. After all, they have already been processed, planed, squared, etc. Pics reflect the post-tidying, uncluttered look.

Offcut bin

I began by tackling two large grey bins that were literally overflowing. I could not place one more scrap piece in them. The laborious task of sifting through them began. It was much like an archaeological dig of past projects. Each layer reminded me of an earlier project and once I got to the bottom I could see some of my earlier work. I moved the larger pieces to two large cardboard boxes to be stored away in a completely different part of the building. The remainder I intend to use as fireplace kindling. Once I got through the first grey bin, the second one was easy. I conditioned myself to be discriminating and if I thought the offcut was not worth saving, it would become kindling. It has been at least 3 years since these bins have been completely emptied.

Offcut bin

Next were 3 other wood piles that had grown to an unwieldy size. One pile in particular beneath my vacuum pump had become an eyesore. This had to get sorted out. I recently purchased a new shop vac and the box it came in was a large enough size for these longer offcuts. Next issue was where to place the box. If I kept it in plain view I would have accomplished nothing except move wood offcuts from one pile to another. I needed to find an unused space, preferably out of sight. The space behind a dust collector was not used and just the right size. The large box of offcuts was also placed on a small dolly with casters I had lying around. Now I can conveniently access these longer offcuts and if necessary easily move the box to a different location.

Wood piles for offcuts

Offcut storage bin
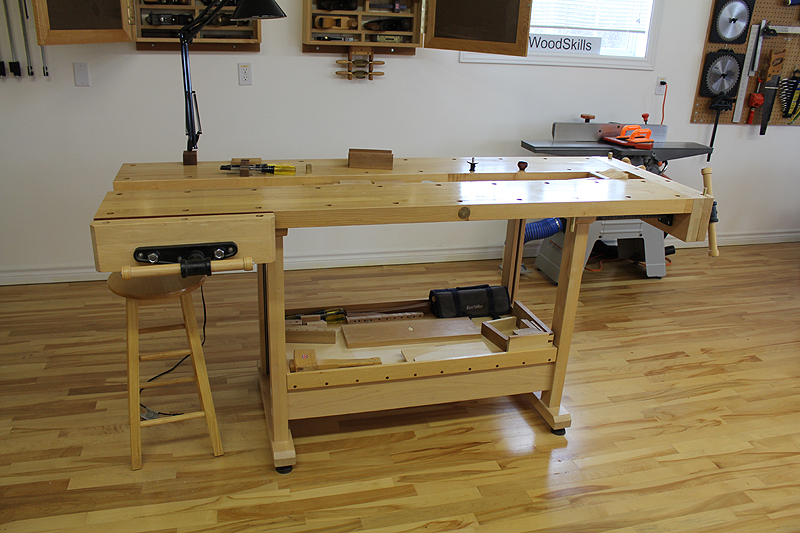
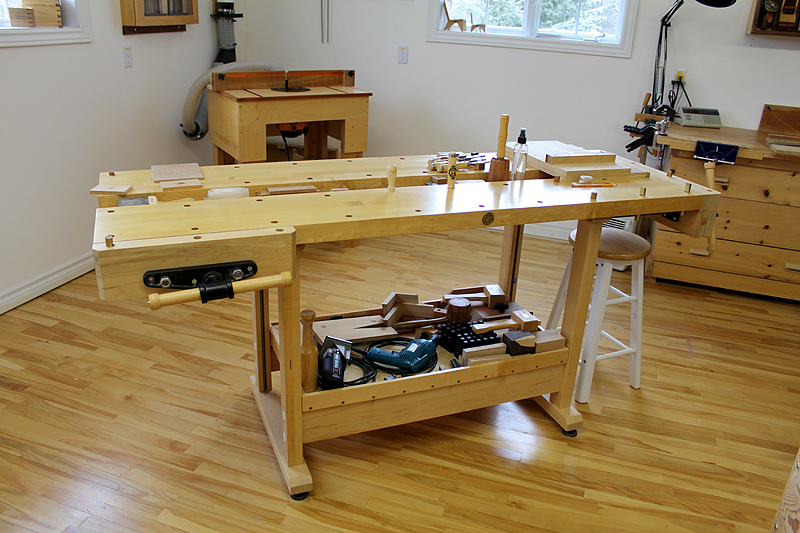
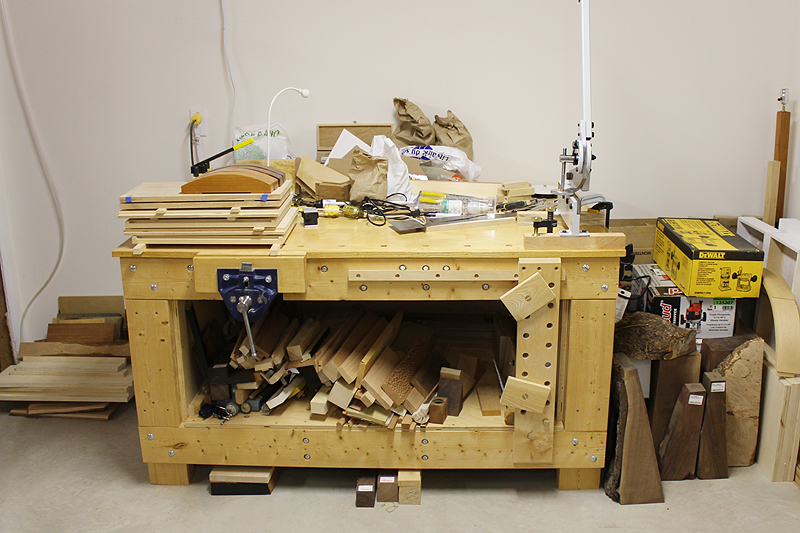
With this all done, I tackled the shelves under two of my larger workbenches below. It is so true what they say that these shelves eventually become storage for anything and everything. By now I was merciless, I wanted clean surfaces free of clutter. This exercise also provided me the opportunity to get re-acquainted with some buried tools and hardware 🙂

Main workbenchMain workbench

The last task was to clean the tops of the two smaller, identical workbenches below. In one case, the workbench top had not been cleaned in maybe 3 years. Everything was removed from each of the two workbench tops and put back in its place, be it drawers or cabinets. From now on I will work hard at leaving workbench surfaces free of clutter and deal with offcuts as I work through a project. After all, I have enough offcuts already to last a lifetime. Will I ever use them all, probably not. Maybe donate them to woodworkers that create smaller objects?

Woodworking workbenchSecondary woodworking workbench area

Last but not least is a large beast of a workbench I made years ago (seen below). I had moved this workbench to an area of the lower level workshop and it has slowly become a storage area with occasional use as a workbench. I need to tackle this area next and cull some of the wood, tools and hardware accumulated over the years. I have always enjoyed using this workbench and want to make it available once again. So I will be cleaning and tidying up this area up tomorrow with the intent to have a usable workbench once again.
Large handmade workench


Drawer pulls…

My process for creating and fitting drawer pulls is outlined here. This involves designing the pulls, selecting the preferred wood to use for the pulls, deciding on a size for the pulls, laying out the pulls, and shaping them. I need to admit this is one of my most enjoyable processes of a build. The build is at its final stages and this can be considered the “adding the icing” part. Pulls often add considerably to a cabinet both in aesthetics and design. The pulls are often a draw to the cabinet if they complement the cabinet yet impart a unique addition to the cabinet. In these photos, the pull design I is a rectangular one with a tenon extending out. The pulls are of mixed cocobolo so both heartwood and sapwood create an appealing contrast in colors. The tenon has shoulders on four sides to overlay the drawer front. This tenon fits into a matching mortise in the drawer front. The mortise is marked and created using hand tools, namely small, narrow chisels.

Mortising slot for drawe pull

Creating the tenon is meticulous work and I used a small, fine saw to delineate the tenon from the actual pull area. Once this is done, I use a skew rabbet block plane and some small chisels to shape the sides of the tenon. The important part of this sequence is to accurately mark the mortise to fit the tenon. A mistake here could ruin the drawer front or involve a re-design of the pulls to correct the error. The tenons of the drawer pulls fit tightly into the mortise and then glued in. I also take some time to orient the drawer pull graphics and orientation to match each other.

Drawer pull fitting

Drawer pull inserted into drawer mortise

After completing and installing the drawers pulls I proceed to adding a pull to the right door of this particular cabinet. This door pull is similar to the drawer pulls to maintain harmony in the design. This design involves one pull on this door to distinguish this door as the one to open first. I’ve always liked the idea of having a single pull on the cabinet front, it just looks like a clean, minimalist design. This door pull is also slightly offset towards the bottom of the door to minimize any impact it might have on the door graphics as more of the door graphics are now visible above the door pull.

Inserting pull into cabinet door