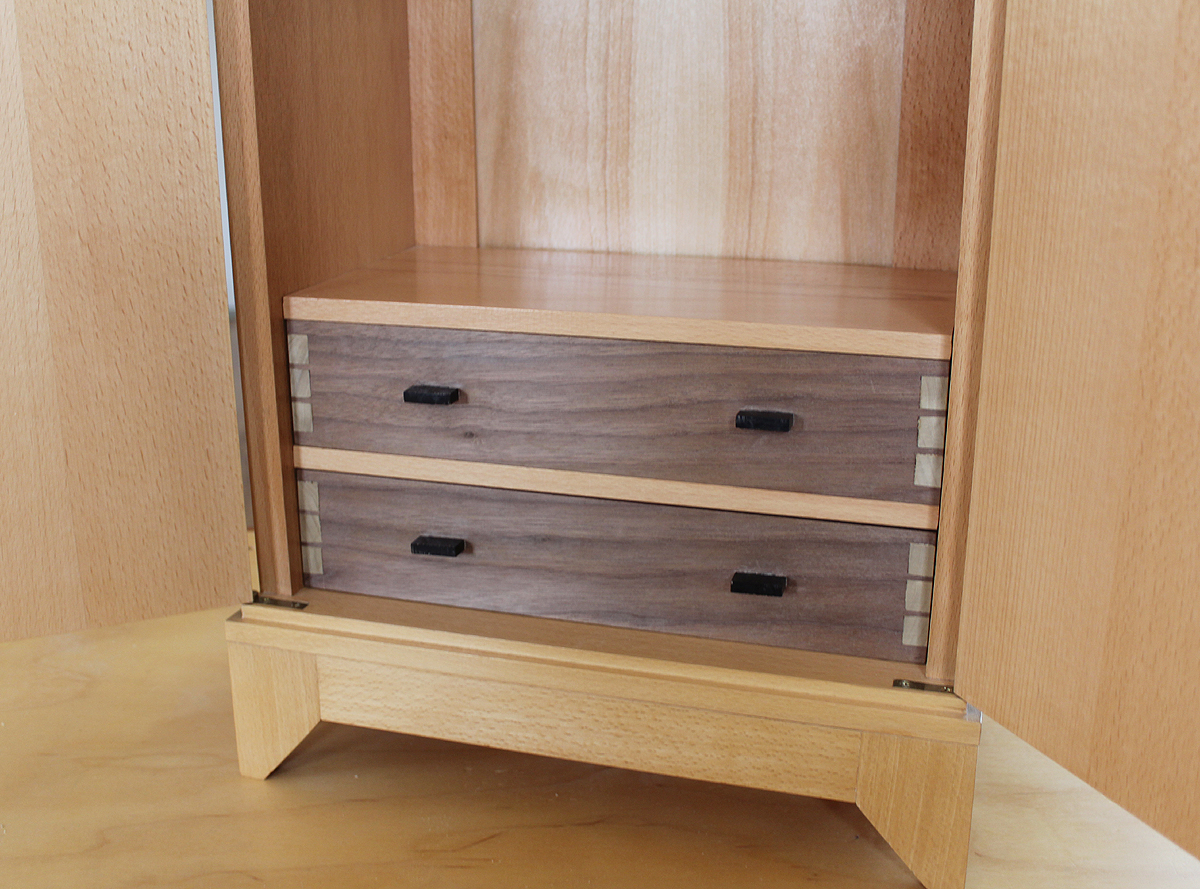
I have a small Krenov-inspired cabinet which I have enjoyed for the most part. The drawers not so much. The cabinet is solid beech but long ago the decision was made to make two stacked drawers with walnut fronts to provide contrast to the beech. I realized at the time that the contrast was not ideal, but for the sake of expediency, went ahead to see if it would grow on me. Well it hasn’t. Another idea at the time was to have through-dovetails to attach the drawer fronts to the sides. This provided another level of contrast and introduced yet another wood to the mix. Overall, I wasn’t pleased. So recently I decided to give the drawers a makeover and replace the drawer fronts with something more aesthetically pleasing and to provide not so harsh a contrast. Pic below of original drawer fronts.
 My first attempt was to use some highly figured veneer I had stored away. It is commercial veneer so very thin. The veneer itself is beautiful, light in color and would make the interior of the beech cabinet pop. First step was to scrape down the surface of the drawer fronts and glued a piece of this veneer to each. Did this successfully and began to create the mortises for the new pulls. However, there is something about commercial veneer that doesn’t sit well with me and I was not able to get past this. The thickness of the material is paper (thick paper) thin and brittle, too fragile for my taste.
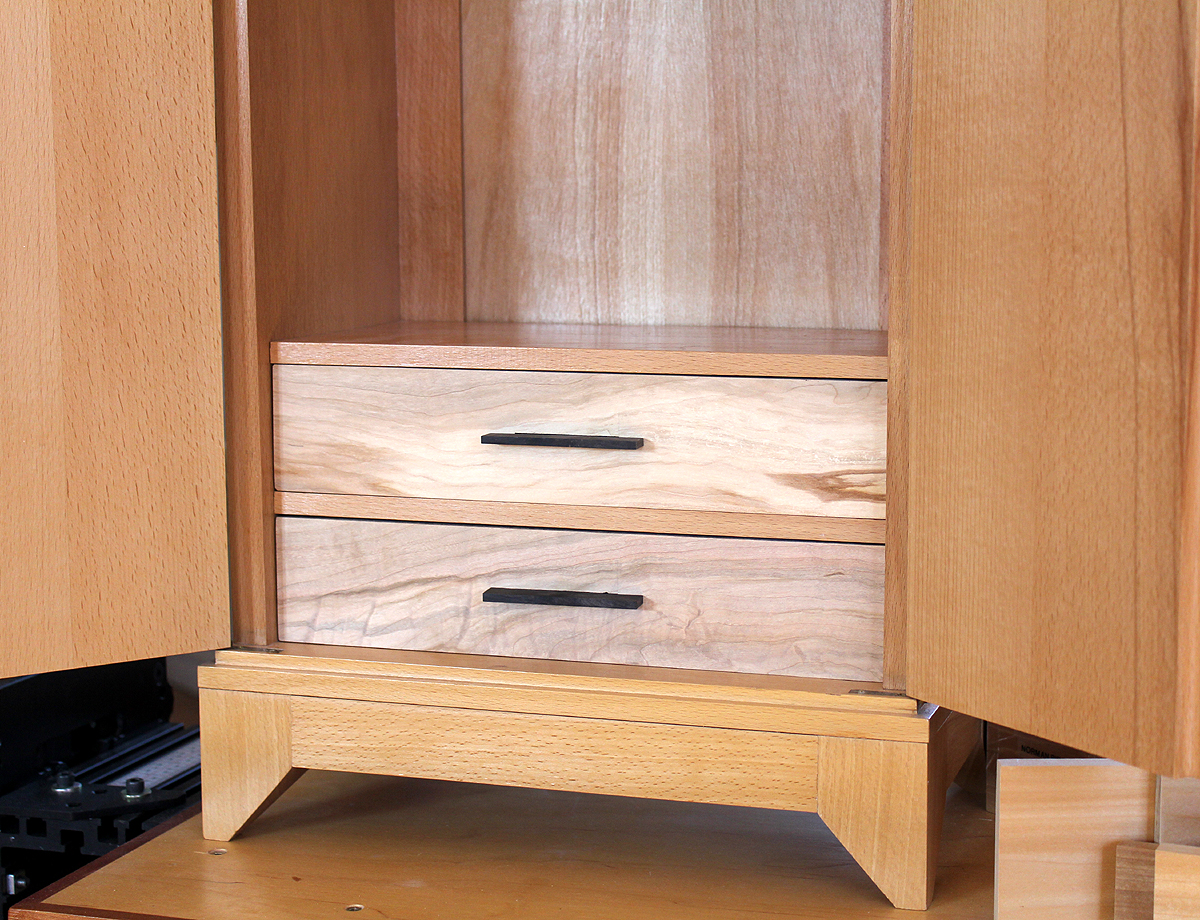
Since it would be necessary to scrape the surfaces to get a polished aesthetic, this was entirely not possible with this thin, brittle veneer. I typically use shop-sawn resawn veneers in my work. Instead, I created some band-sawn ambrosia maple with beautiful figure between 1/16 and 3/32 in. thick. I decided to go ahead with this shop-sawn veneer instead. Next I band sawed the drawer front to the thickness of this shop-sawn figured ambrosia. Applied the veneer to the drawer fronts and I could not be more pleased with the outcome. Shop-sawn veneers are more workable and forgiving with hand tools.
I then created two new wide pulls out of blackwood. A single pull instead of two in the original drawer front. Also decided on eliminating the upper and lower shoulders of the pulls to be able to have them thinner. This would not take away from the figured fronts as much. This step introduced a level of risk in creating the mortises, since there is no drawer pull shoulder to rely on to hide an imperfect mortise.
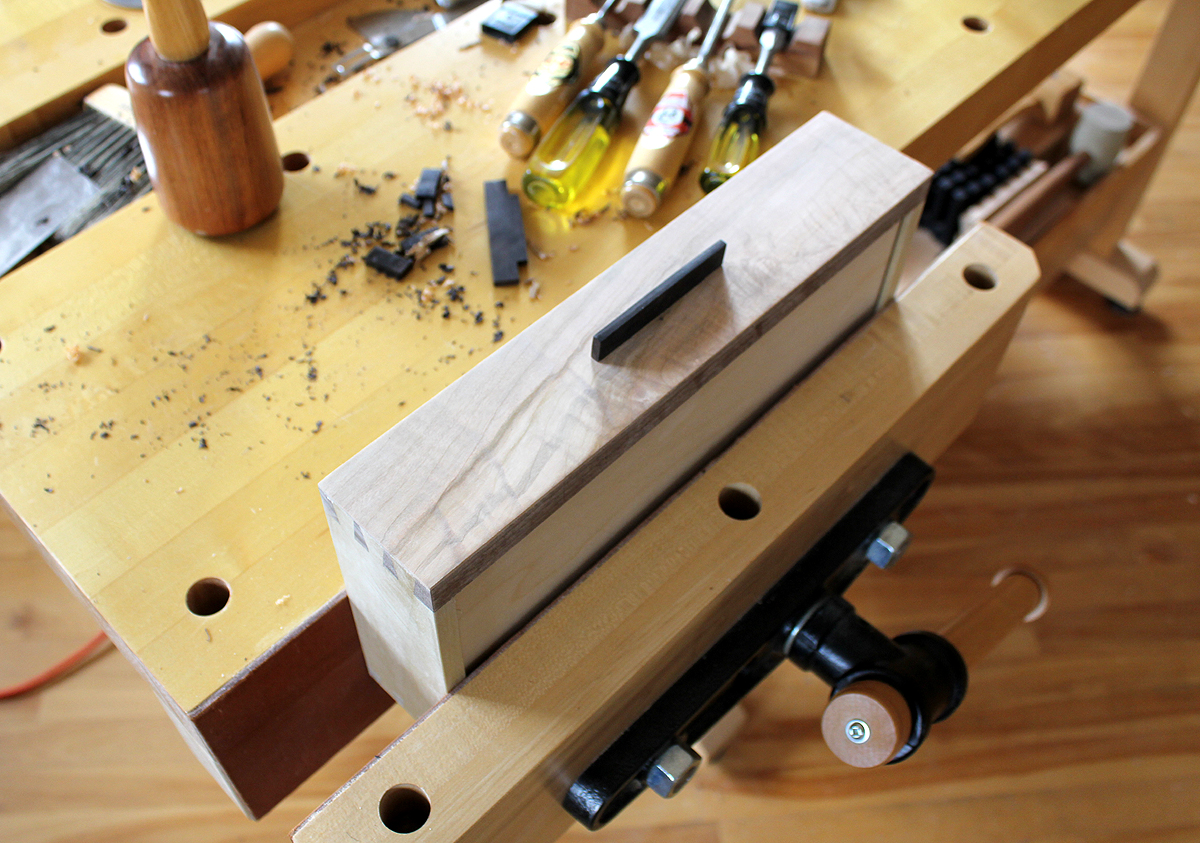
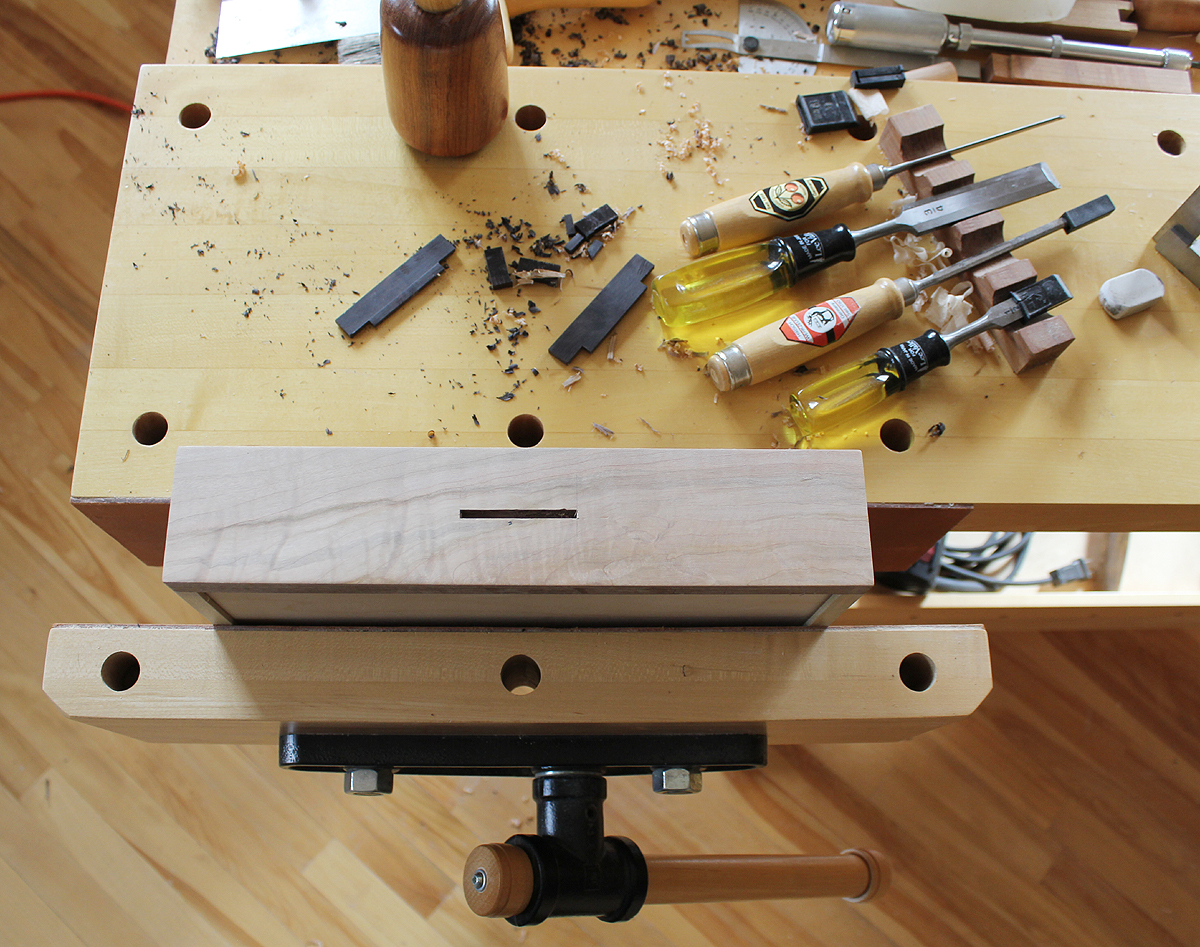 After some judicious mortising using chisels and a mallet,, then some paring, the drawer pull mortises were created as seen above. The most critical part of this step is to remove the top-most layer of wood; it is so easy to tearout the surrounding wood if the chisel cuts are not clean. Then it is simply a matter of cutting and paring to the correct depth of the tenon for the drawer pull. Contemporary-styled blackwood pull temporarily inserted below.
 So very happy with the outcome and will be completely replacing the doors of the cabinet next. I intend to use veneered figured wood for the doors, similar wood (Ambrosia Maple) as the drawer fronts. I plan to write a detailed article about this in the next issue of WOODSKILLS Magazine