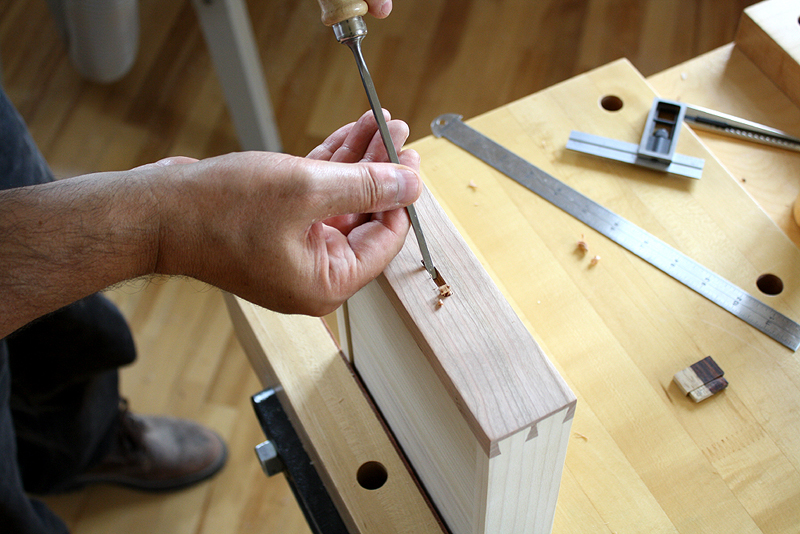
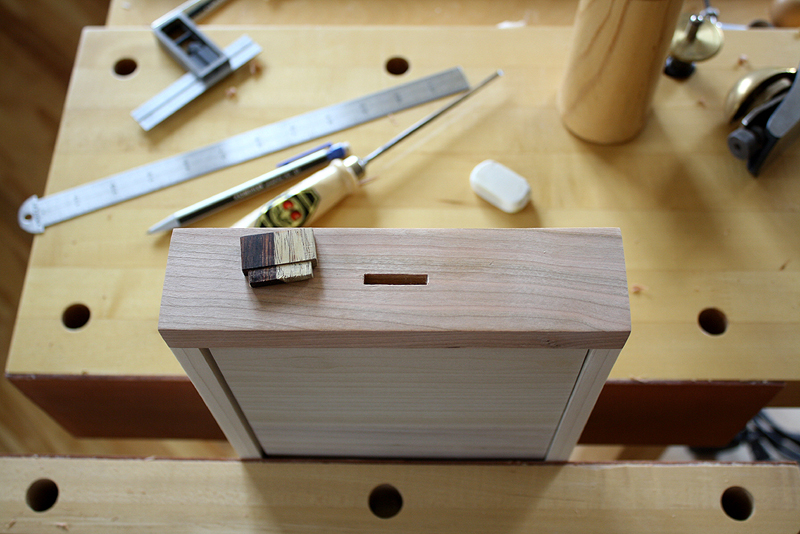
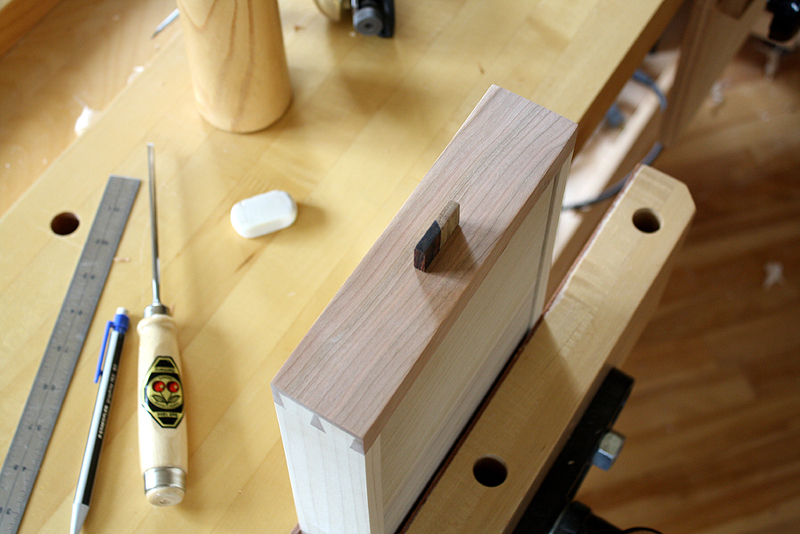
My process for creating and fitting drawer pulls is outlined here. This involves designing the pulls, selecting the preferred wood to use for the pulls, deciding on a size for the pulls, laying out the pulls, and shaping them. I need to admit this is one of my most enjoyable processes of a build. The build is at its final stages and this can be considered the “adding the icing” part. Pulls often add considerably to a cabinet both in aesthetics and design. The pulls are often a draw to the cabinet if they complement the cabinet yet impart a unique addition to the cabinet. In these photos, the pull design I is a rectangular one with a tenon extending out. The pulls are of mixed cocobolo so both heartwood and sapwood create an appealing contrast in colors. The tenon has shoulders on four sides to overlay the drawer front. This tenon fits into a matching mortise in the drawer front. The mortise is marked and created using hand tools, namely small, narrow chisels.

Creating the tenon is meticulous work and I used a small, fine saw to delineate the tenon from the actual pull area. Once this is done, I use a skew rabbet block plane and some small chisels to shape the sides of the tenon. The important part of this sequence is to accurately mark the mortise to fit the tenon. A mistake here could ruin the drawer front or involve a re-design of the pulls to correct the error. The tenons of the drawer pulls fit tightly into the mortise and then glued in. I also take some time to orient the drawer pull graphics and orientation to match each other.


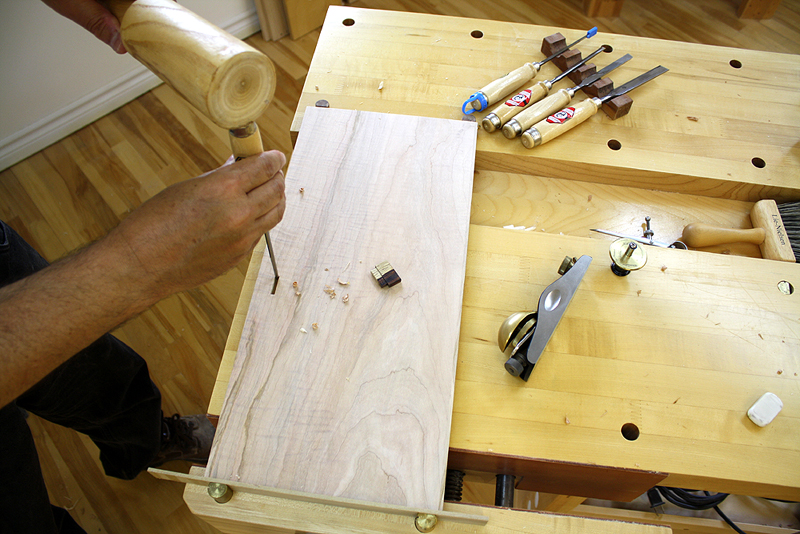
After completing and installing the drawers pulls I proceed to adding a pull to the right door of this particular cabinet. This door pull is similar to the drawer pulls to maintain harmony in the design. This design involves one pull on this door to distinguish this door as the one to open first. I’ve always liked the idea of having a single pull on the cabinet front, it just looks like a clean, minimalist design. This door pull is also slightly offset towards the bottom of the door to minimize any impact it might have on the door graphics as more of the door graphics are now visible above the door pull.

