Not the most exciting blog post but I finally got around to cleaning out the piles and piles of offcuts I had been storing throughout my workshop. What brought this about is I literally had run out of space, piles were brimming with wood offcuts of every size. It gets to a point where it doesn’t make sense to keep collecting the wood, I’ll only generate more anyway! So how to go about this task since the most difficult thing is parting with an offcut that might be of use in a future project as this is instilled in us as woodworkers. As we all know, hardwoods have become expensive so the offcuts become more precious as time goes on. After all, they have already been processed, planed, squared, etc. Pics reflect the post-tidying, uncluttered look.
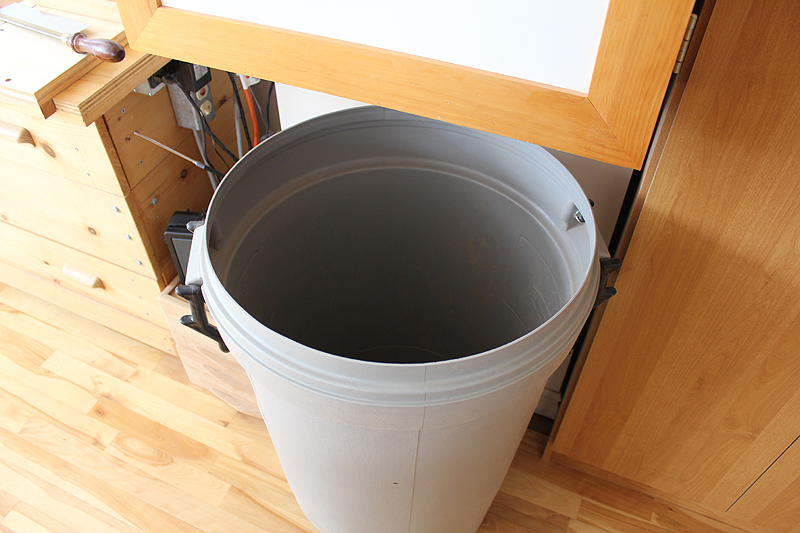
I began by tackling two large grey bins that were literally overflowing. I could not place one more scrap piece in them. The laborious task of sifting through them began. It was much like an archaeological dig of past projects. Each layer reminded me of an earlier project and once I got to the bottom I could see some of my earlier work. I moved the larger pieces to two large cardboard boxes to be stored away in a completely different part of the building. The remainder I intend to use as fireplace kindling. Once I got through the first grey bin, the second one was easy. I conditioned myself to be discriminating and if I thought the offcut was not worth saving, it would become kindling. It has been at least 3 years since these bins have been completely emptied.
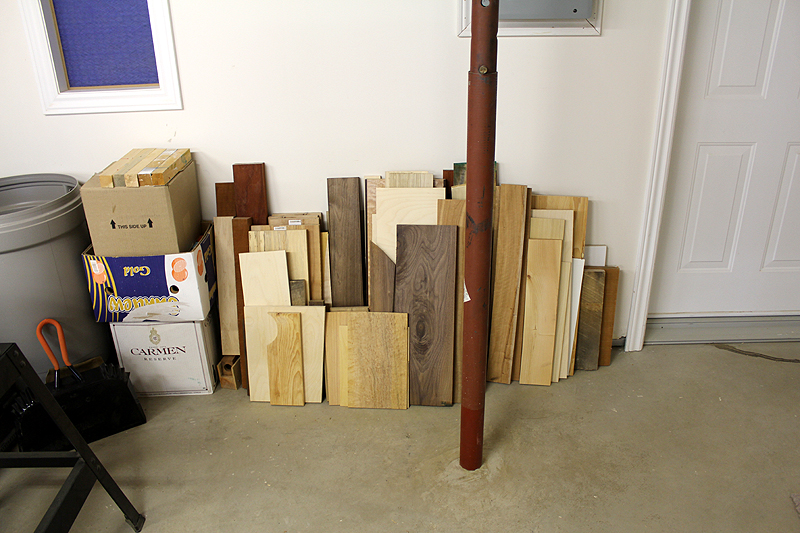
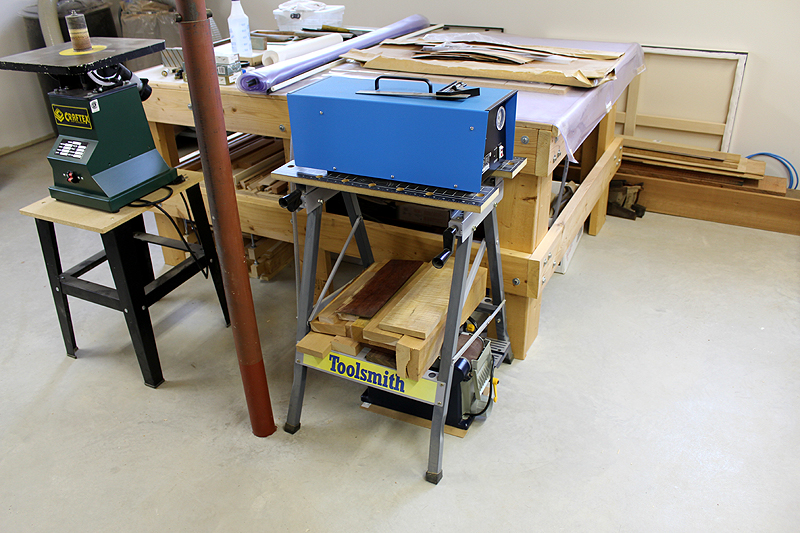
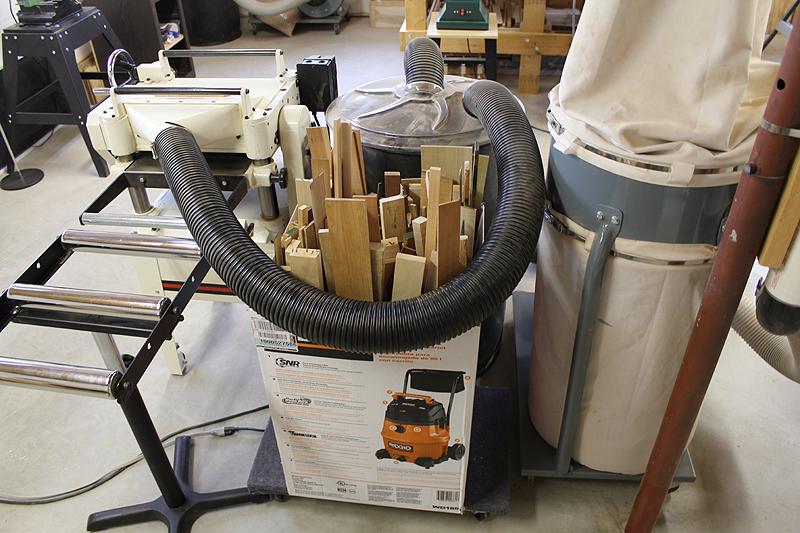
Next were 3 other wood piles that had grown to an unwieldy size. One pile in particular beneath my vacuum pump had become an eyesore. This had to get sorted out. I recently purchased a new shop vac and the box it came in was a large enough size for these longer offcuts. Next issue was where to place the box. If I kept it in plain view I would have accomplished nothing except move wood offcuts from one pile to another. I needed to find an unused space, preferably out of sight. The space behind a dust collector was not used and just the right size. The large box of offcuts was also placed on a small dolly with casters I had lying around. Now I can conveniently access these longer offcuts and if necessary easily move the box to a different location.
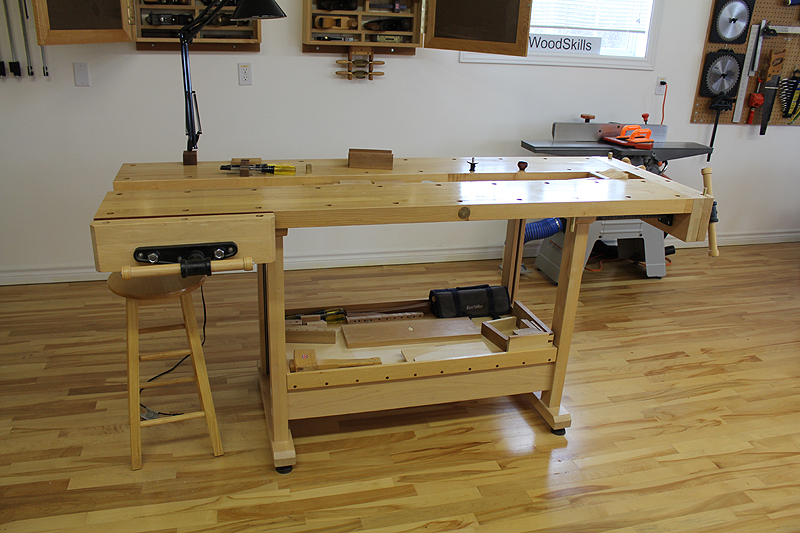
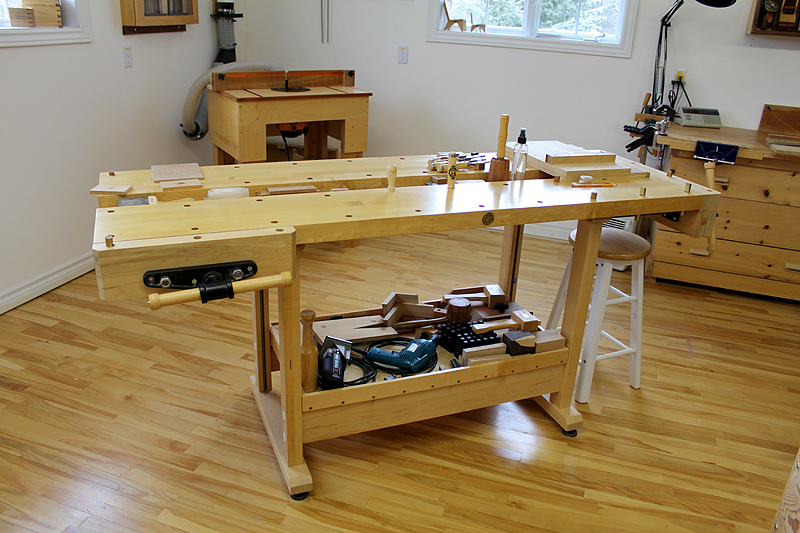
 With this all done, I tackled the shelves under two of my larger workbenches below. It is so true what they say that these shelves eventually become storage for anything and everything. By now I was merciless, I wanted clean surfaces free of clutter. This exercise also provided me the opportunity to get re-acquainted with some buried tools and hardware 🙂
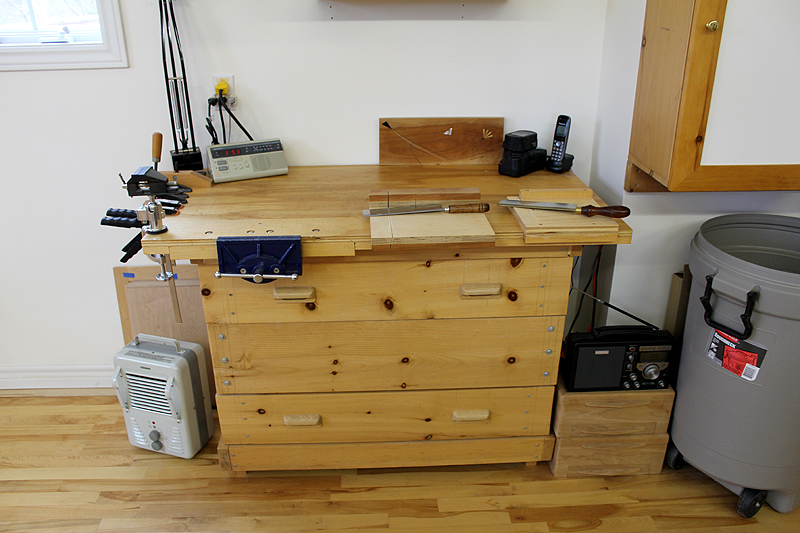
The last task was to clean the tops of the two smaller, identical workbenches below. In one case, the workbench top had not been cleaned in maybe 3 years. Everything was removed from each of the two workbench tops and put back in its place, be it drawers or cabinets. From now on I will work hard at leaving workbench surfaces free of clutter and deal with offcuts as I work through a project. After all, I have enough offcuts already to last a lifetime. Will I ever use them all, probably not. Maybe donate them to woodworkers that create smaller objects?
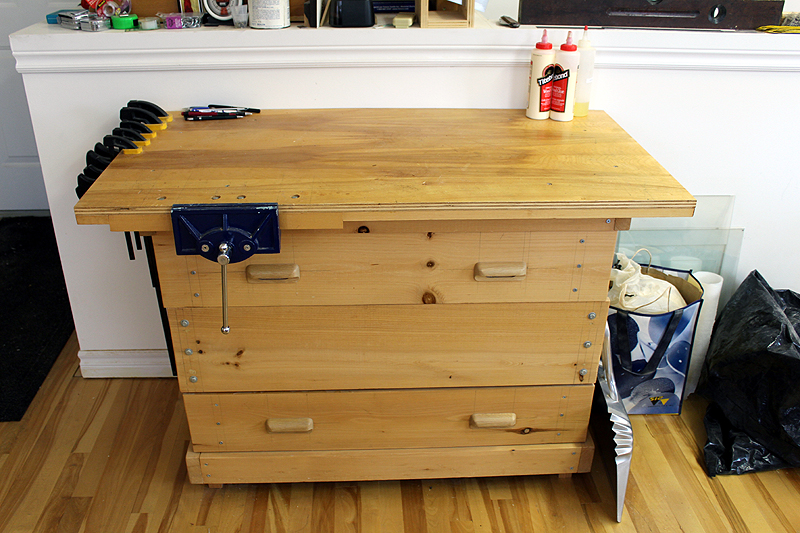
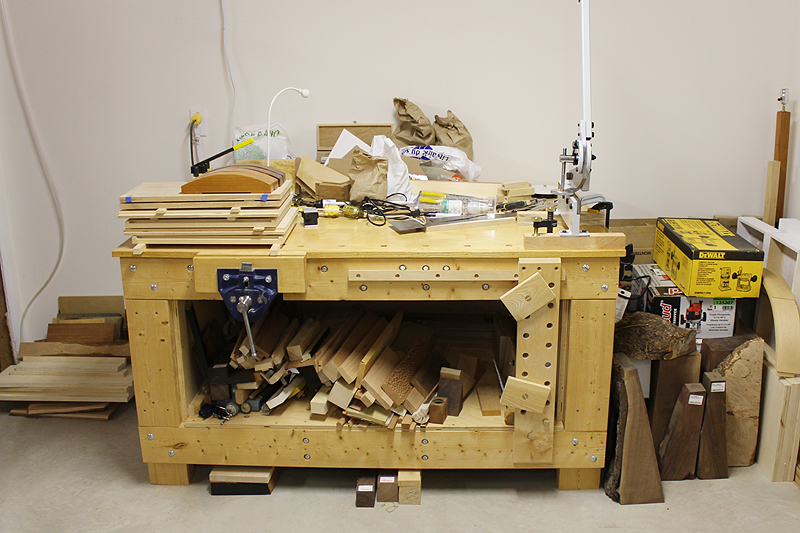
Last but not least is a large beast of a workbench I made years ago (seen below). I had moved this workbench to an area of the lower level workshop and it has slowly become a storage area with occasional use as a workbench. I need to tackle this area next and cull some of the wood, tools and hardware accumulated over the years. I have always enjoyed using this workbench and want to make it available once again. So I will be cleaning and tidying up this area up tomorrow with the intent to have a usable workbench once again.